Projects

Picture Perfect

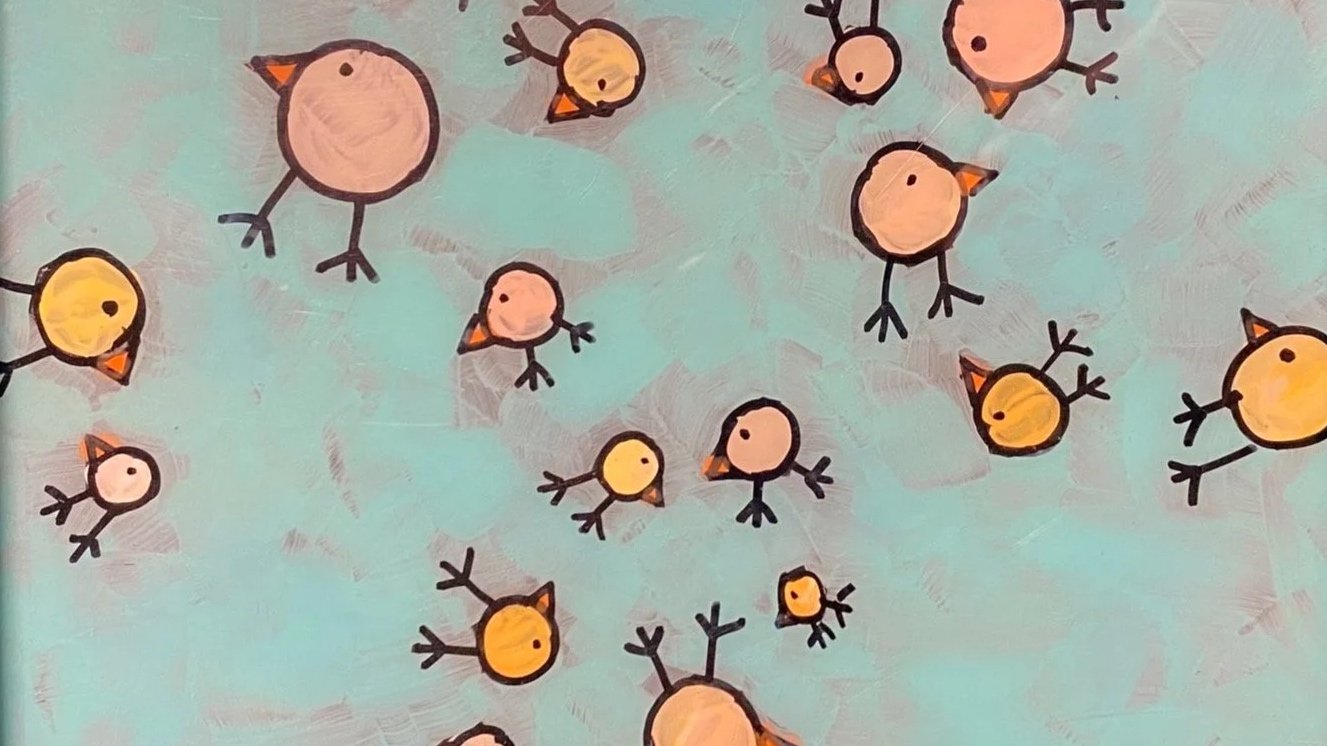
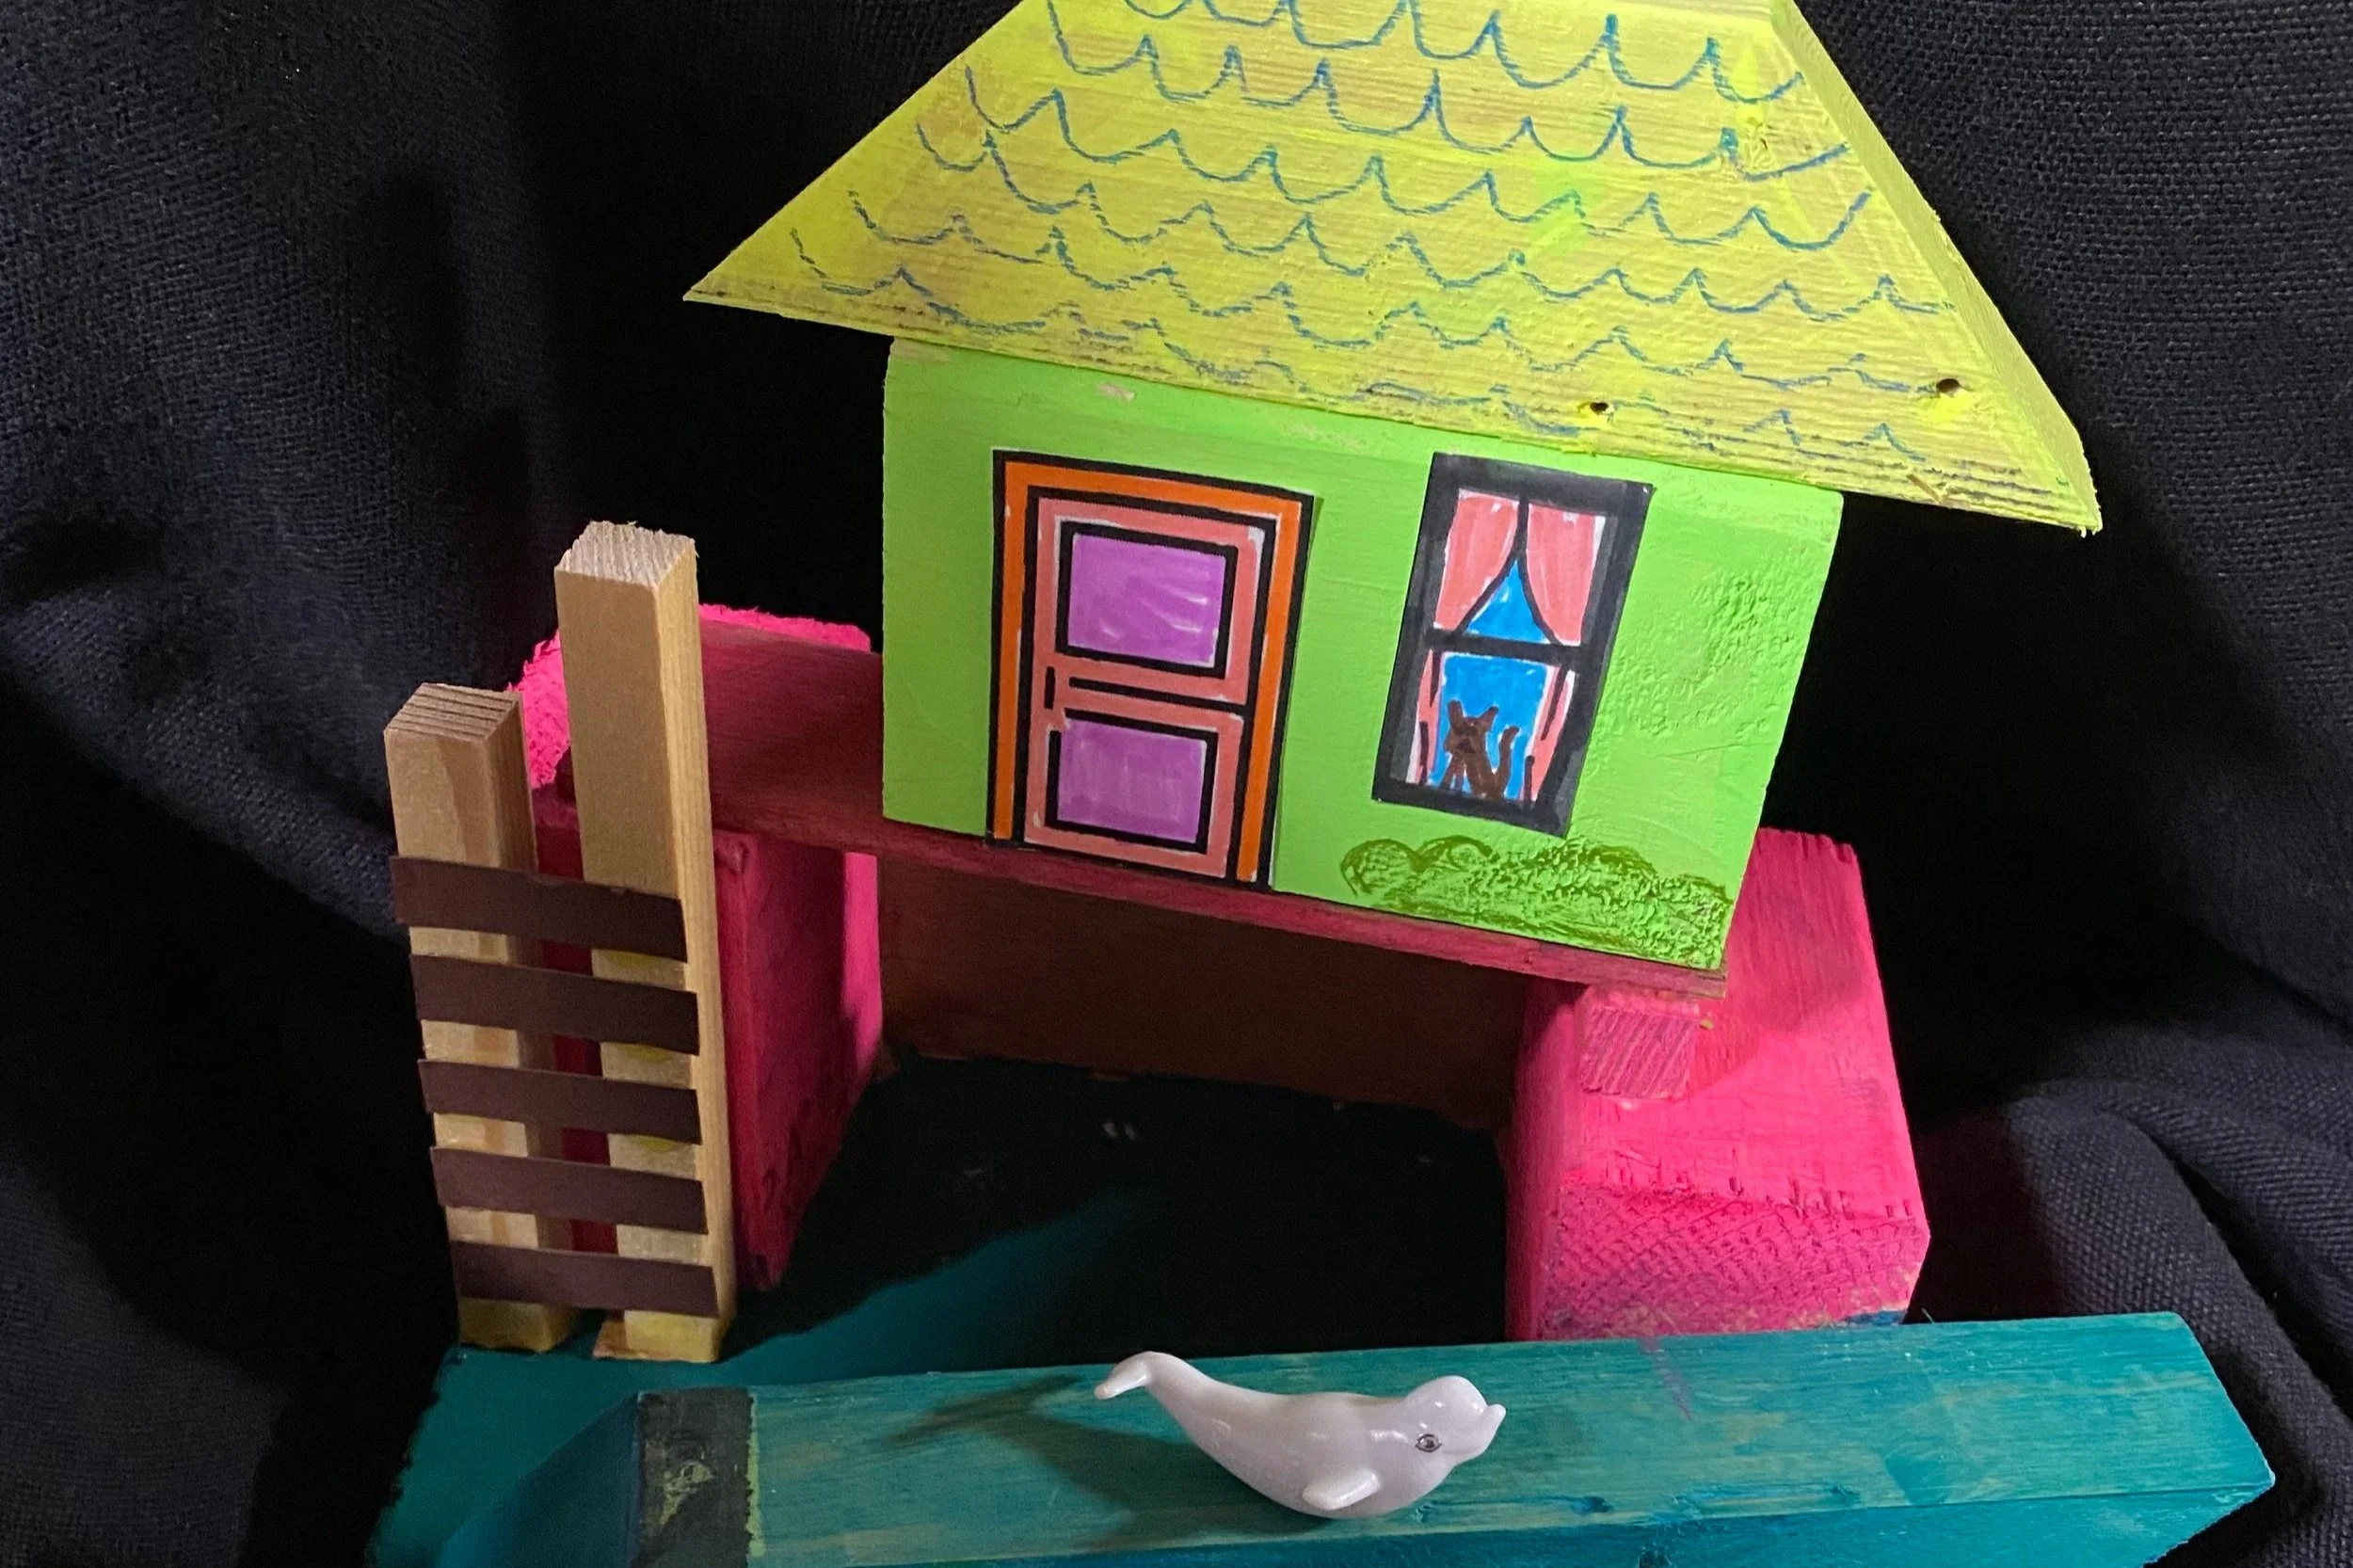
Drawing and painting on plexiglass

Create an amazing piece of artwork for any age that is ready to hang on the wall.

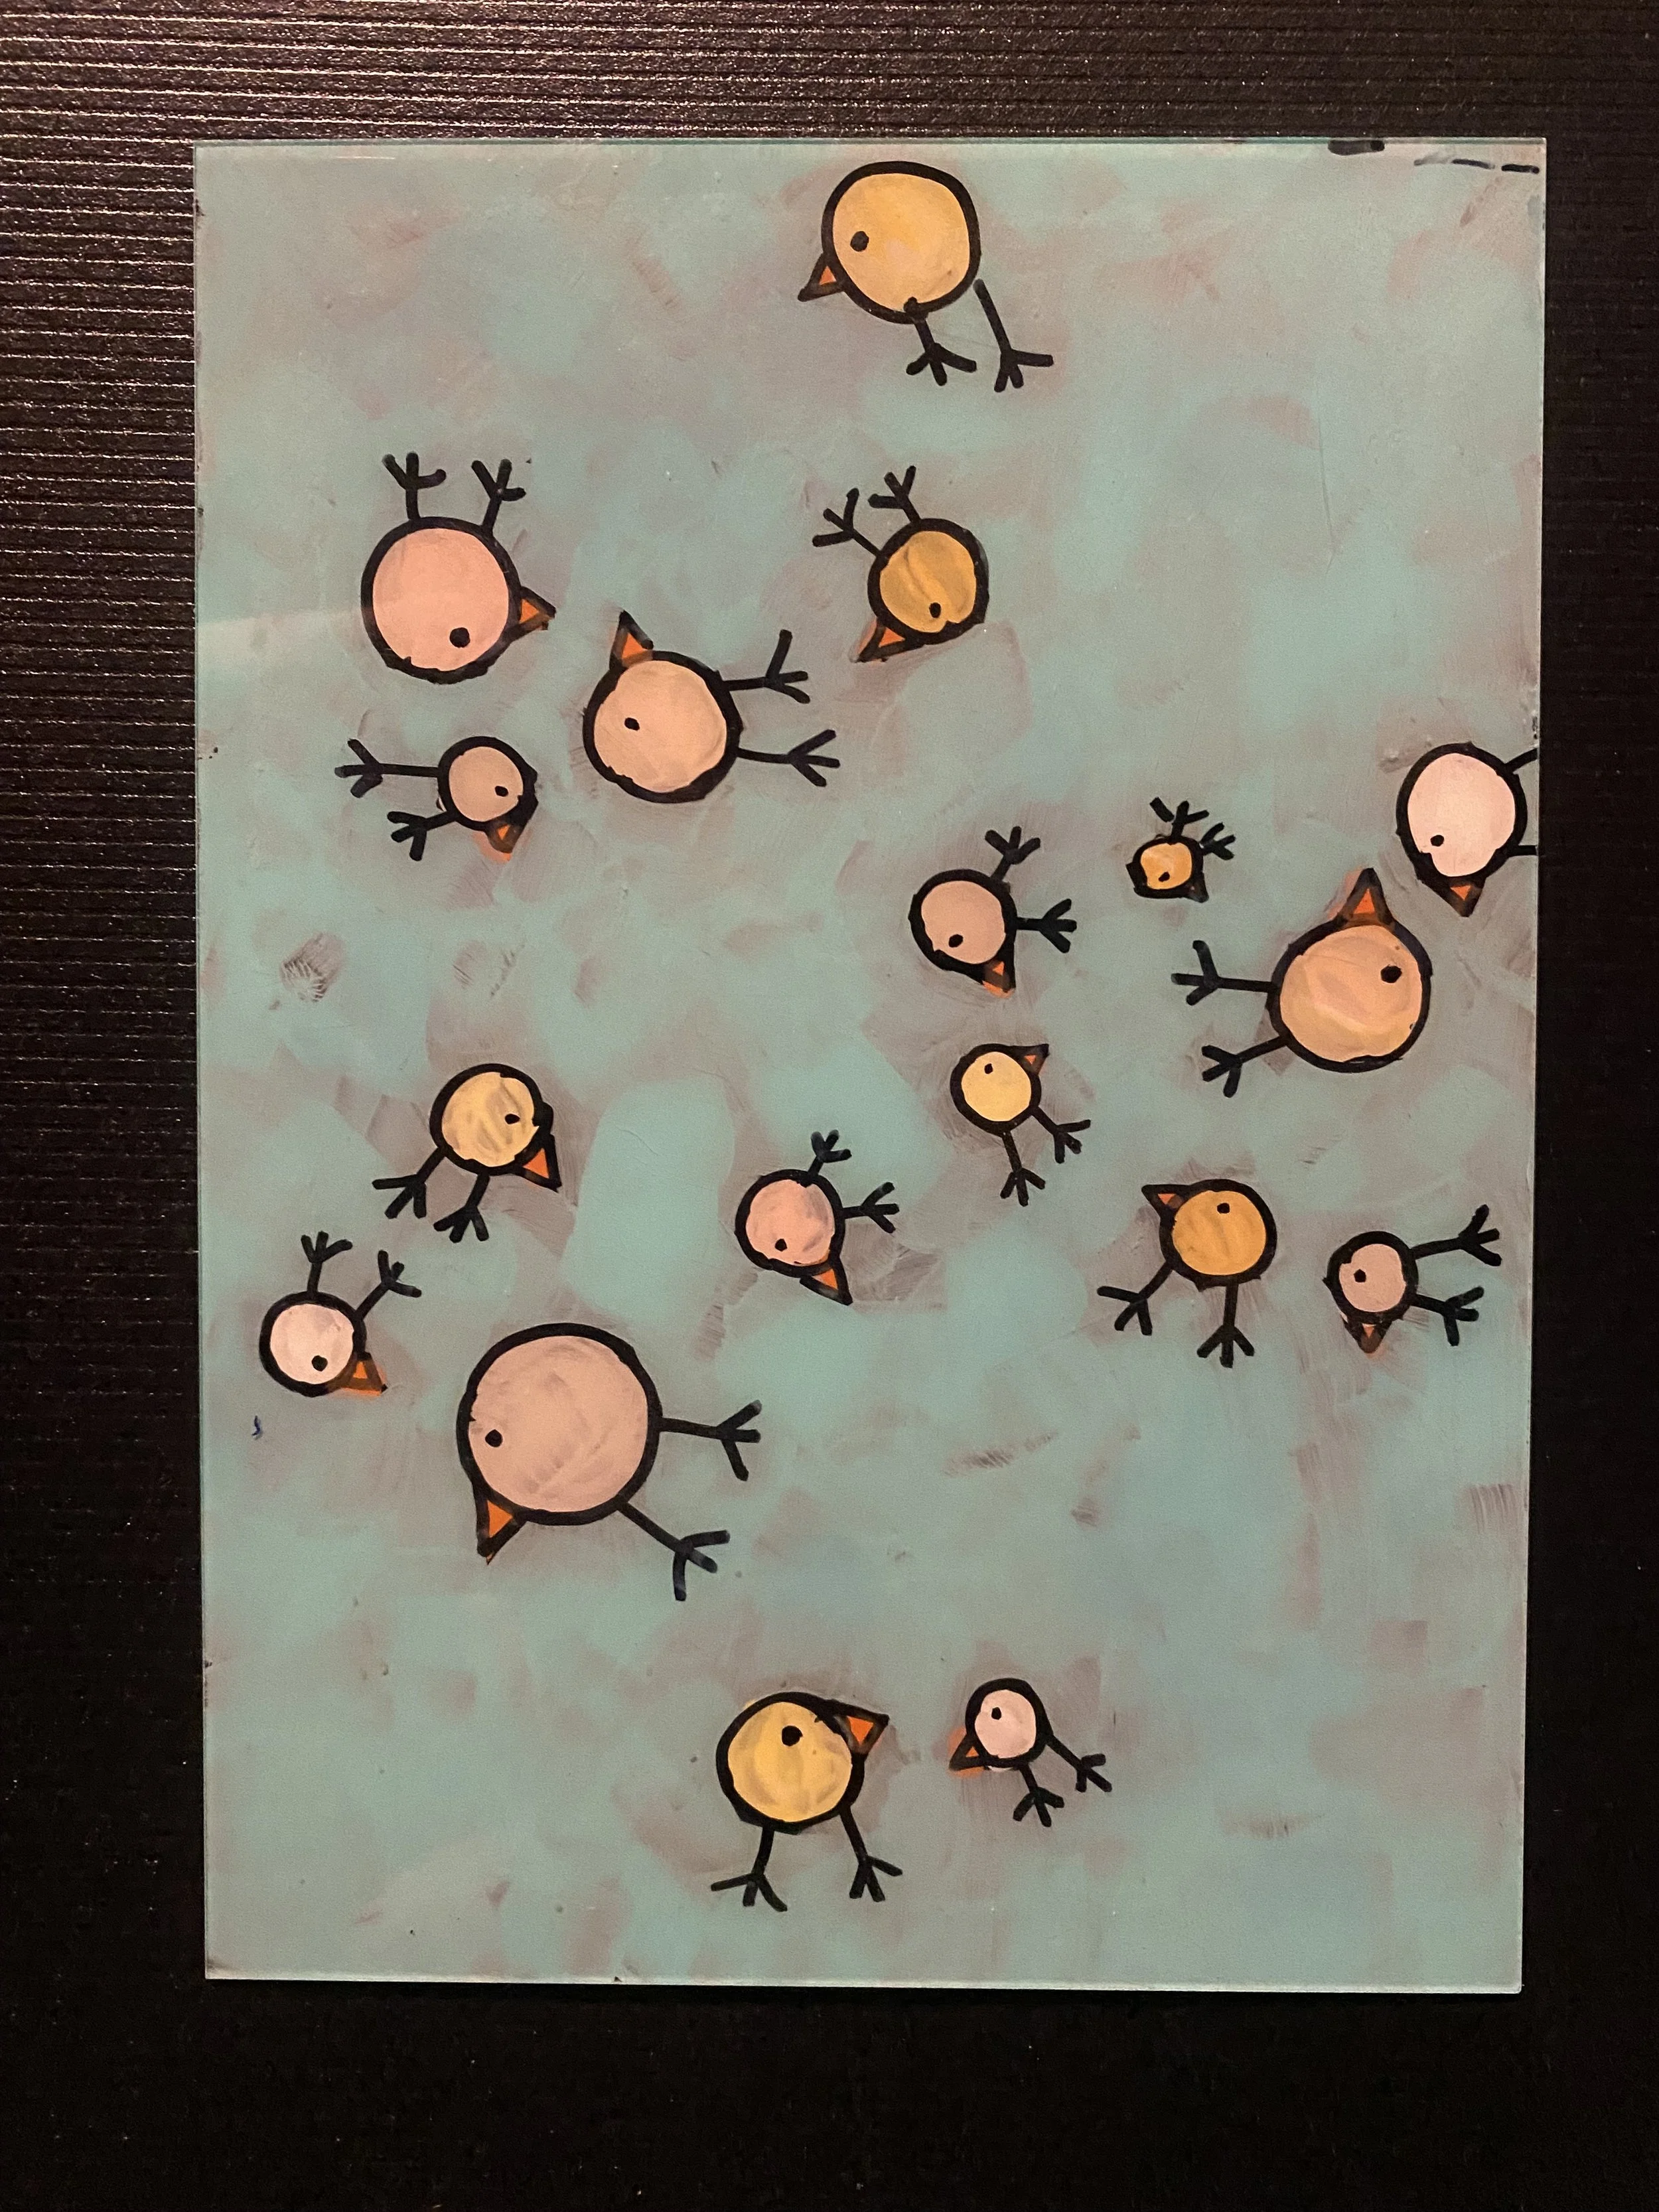
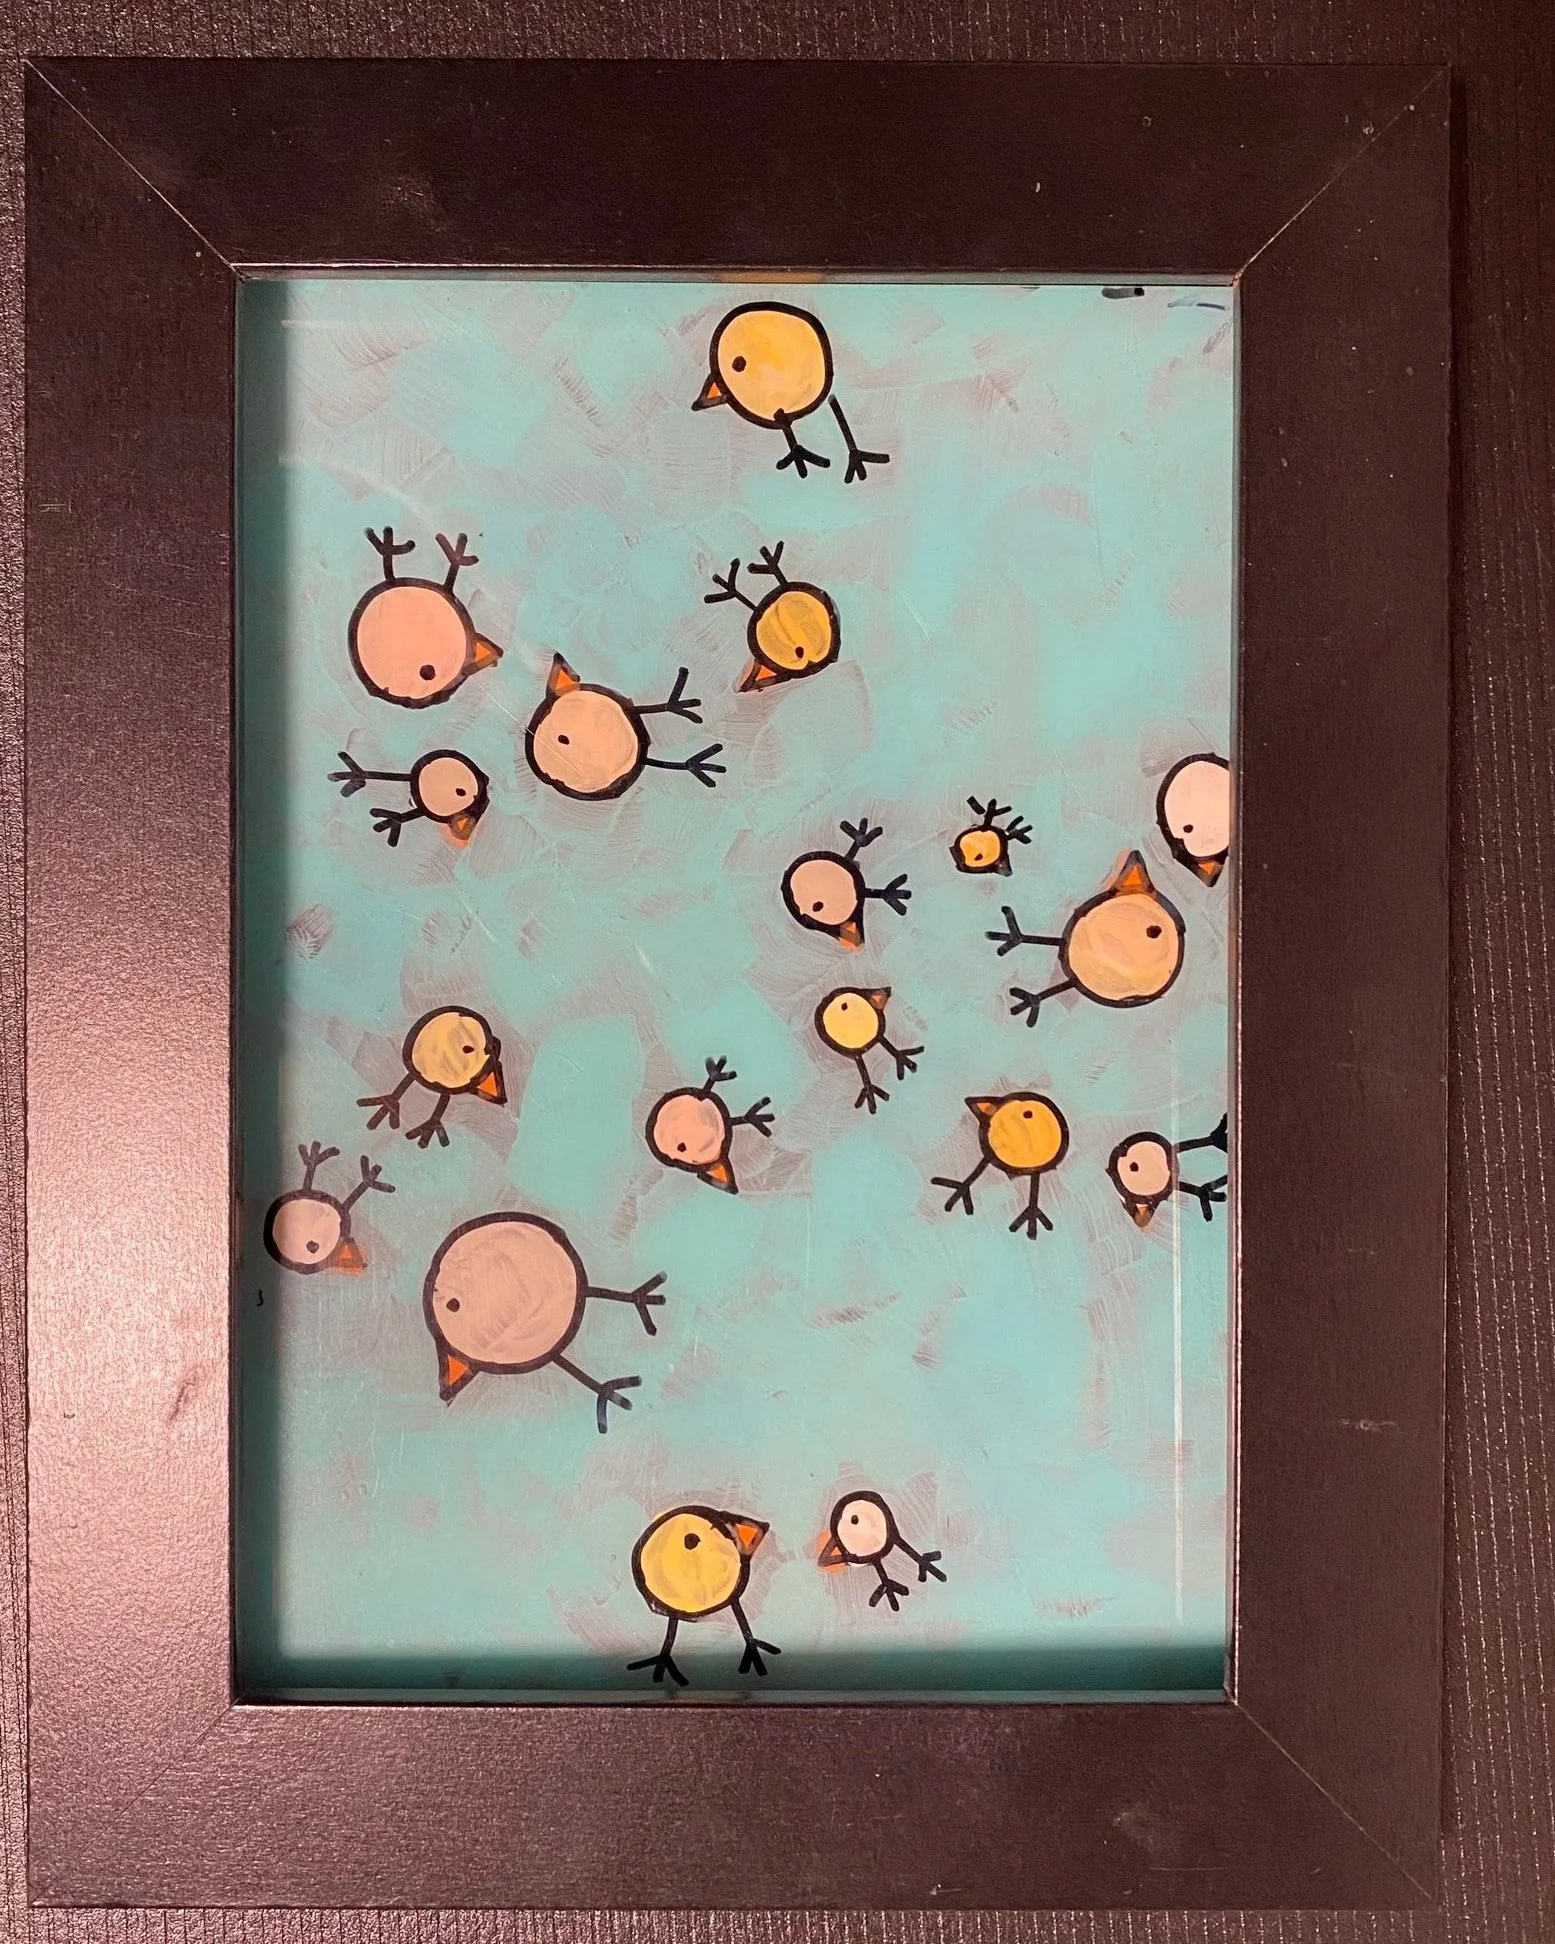
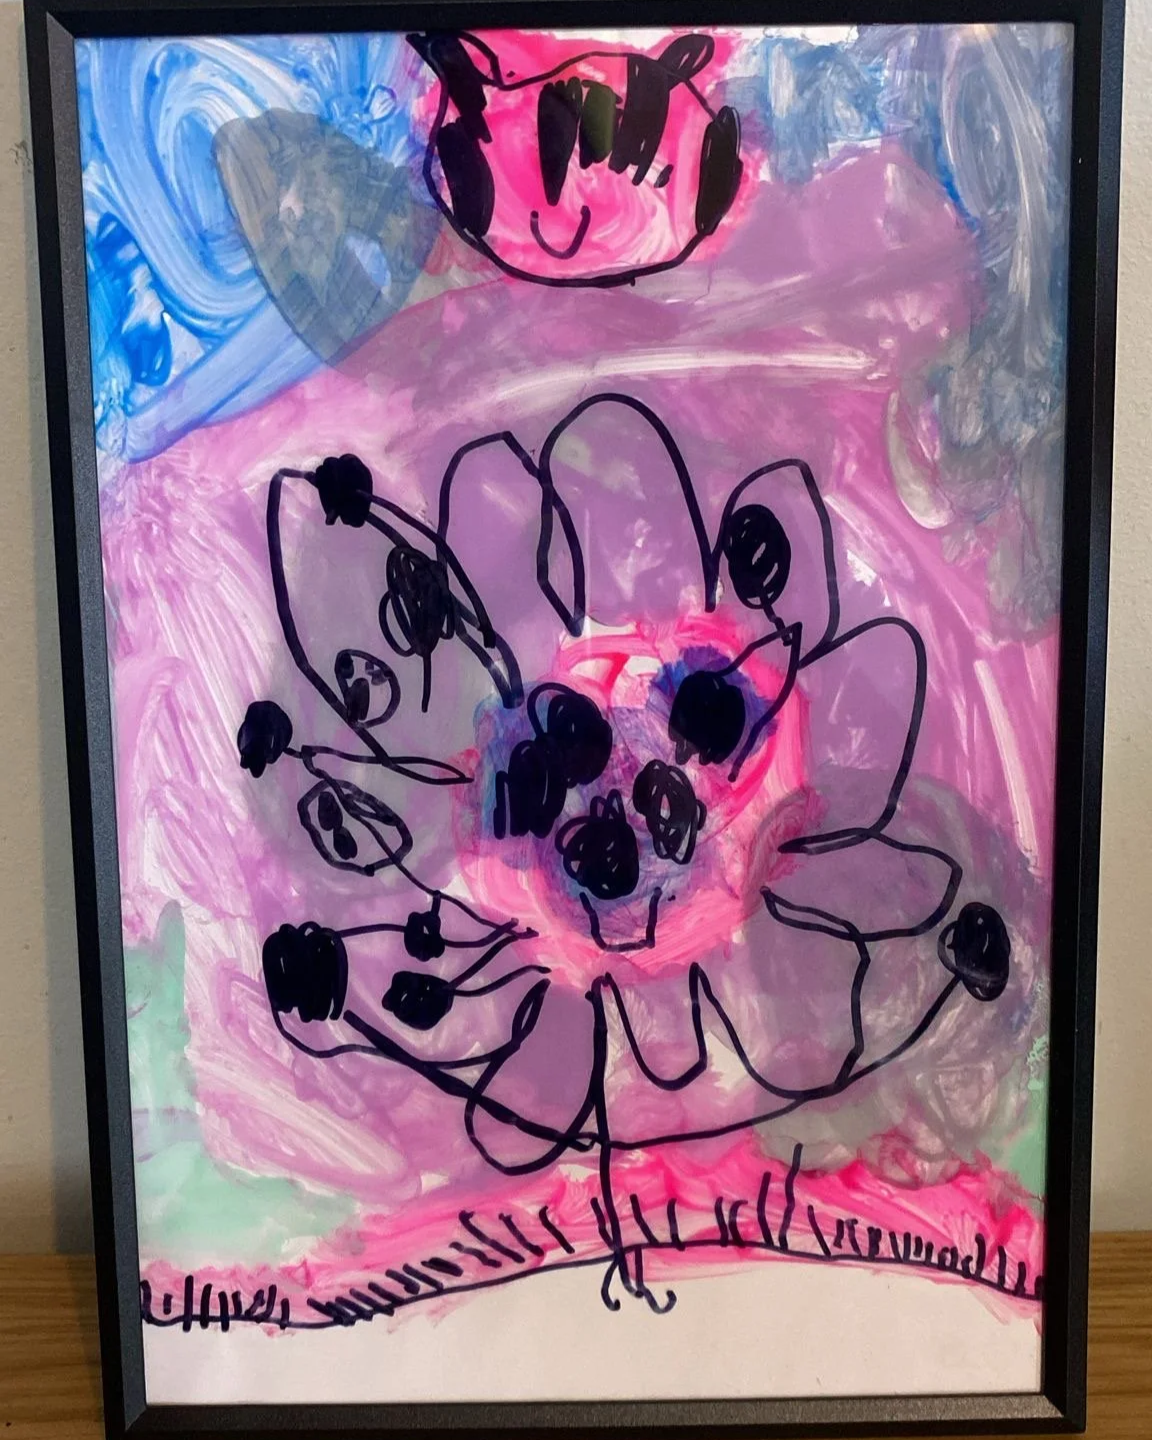
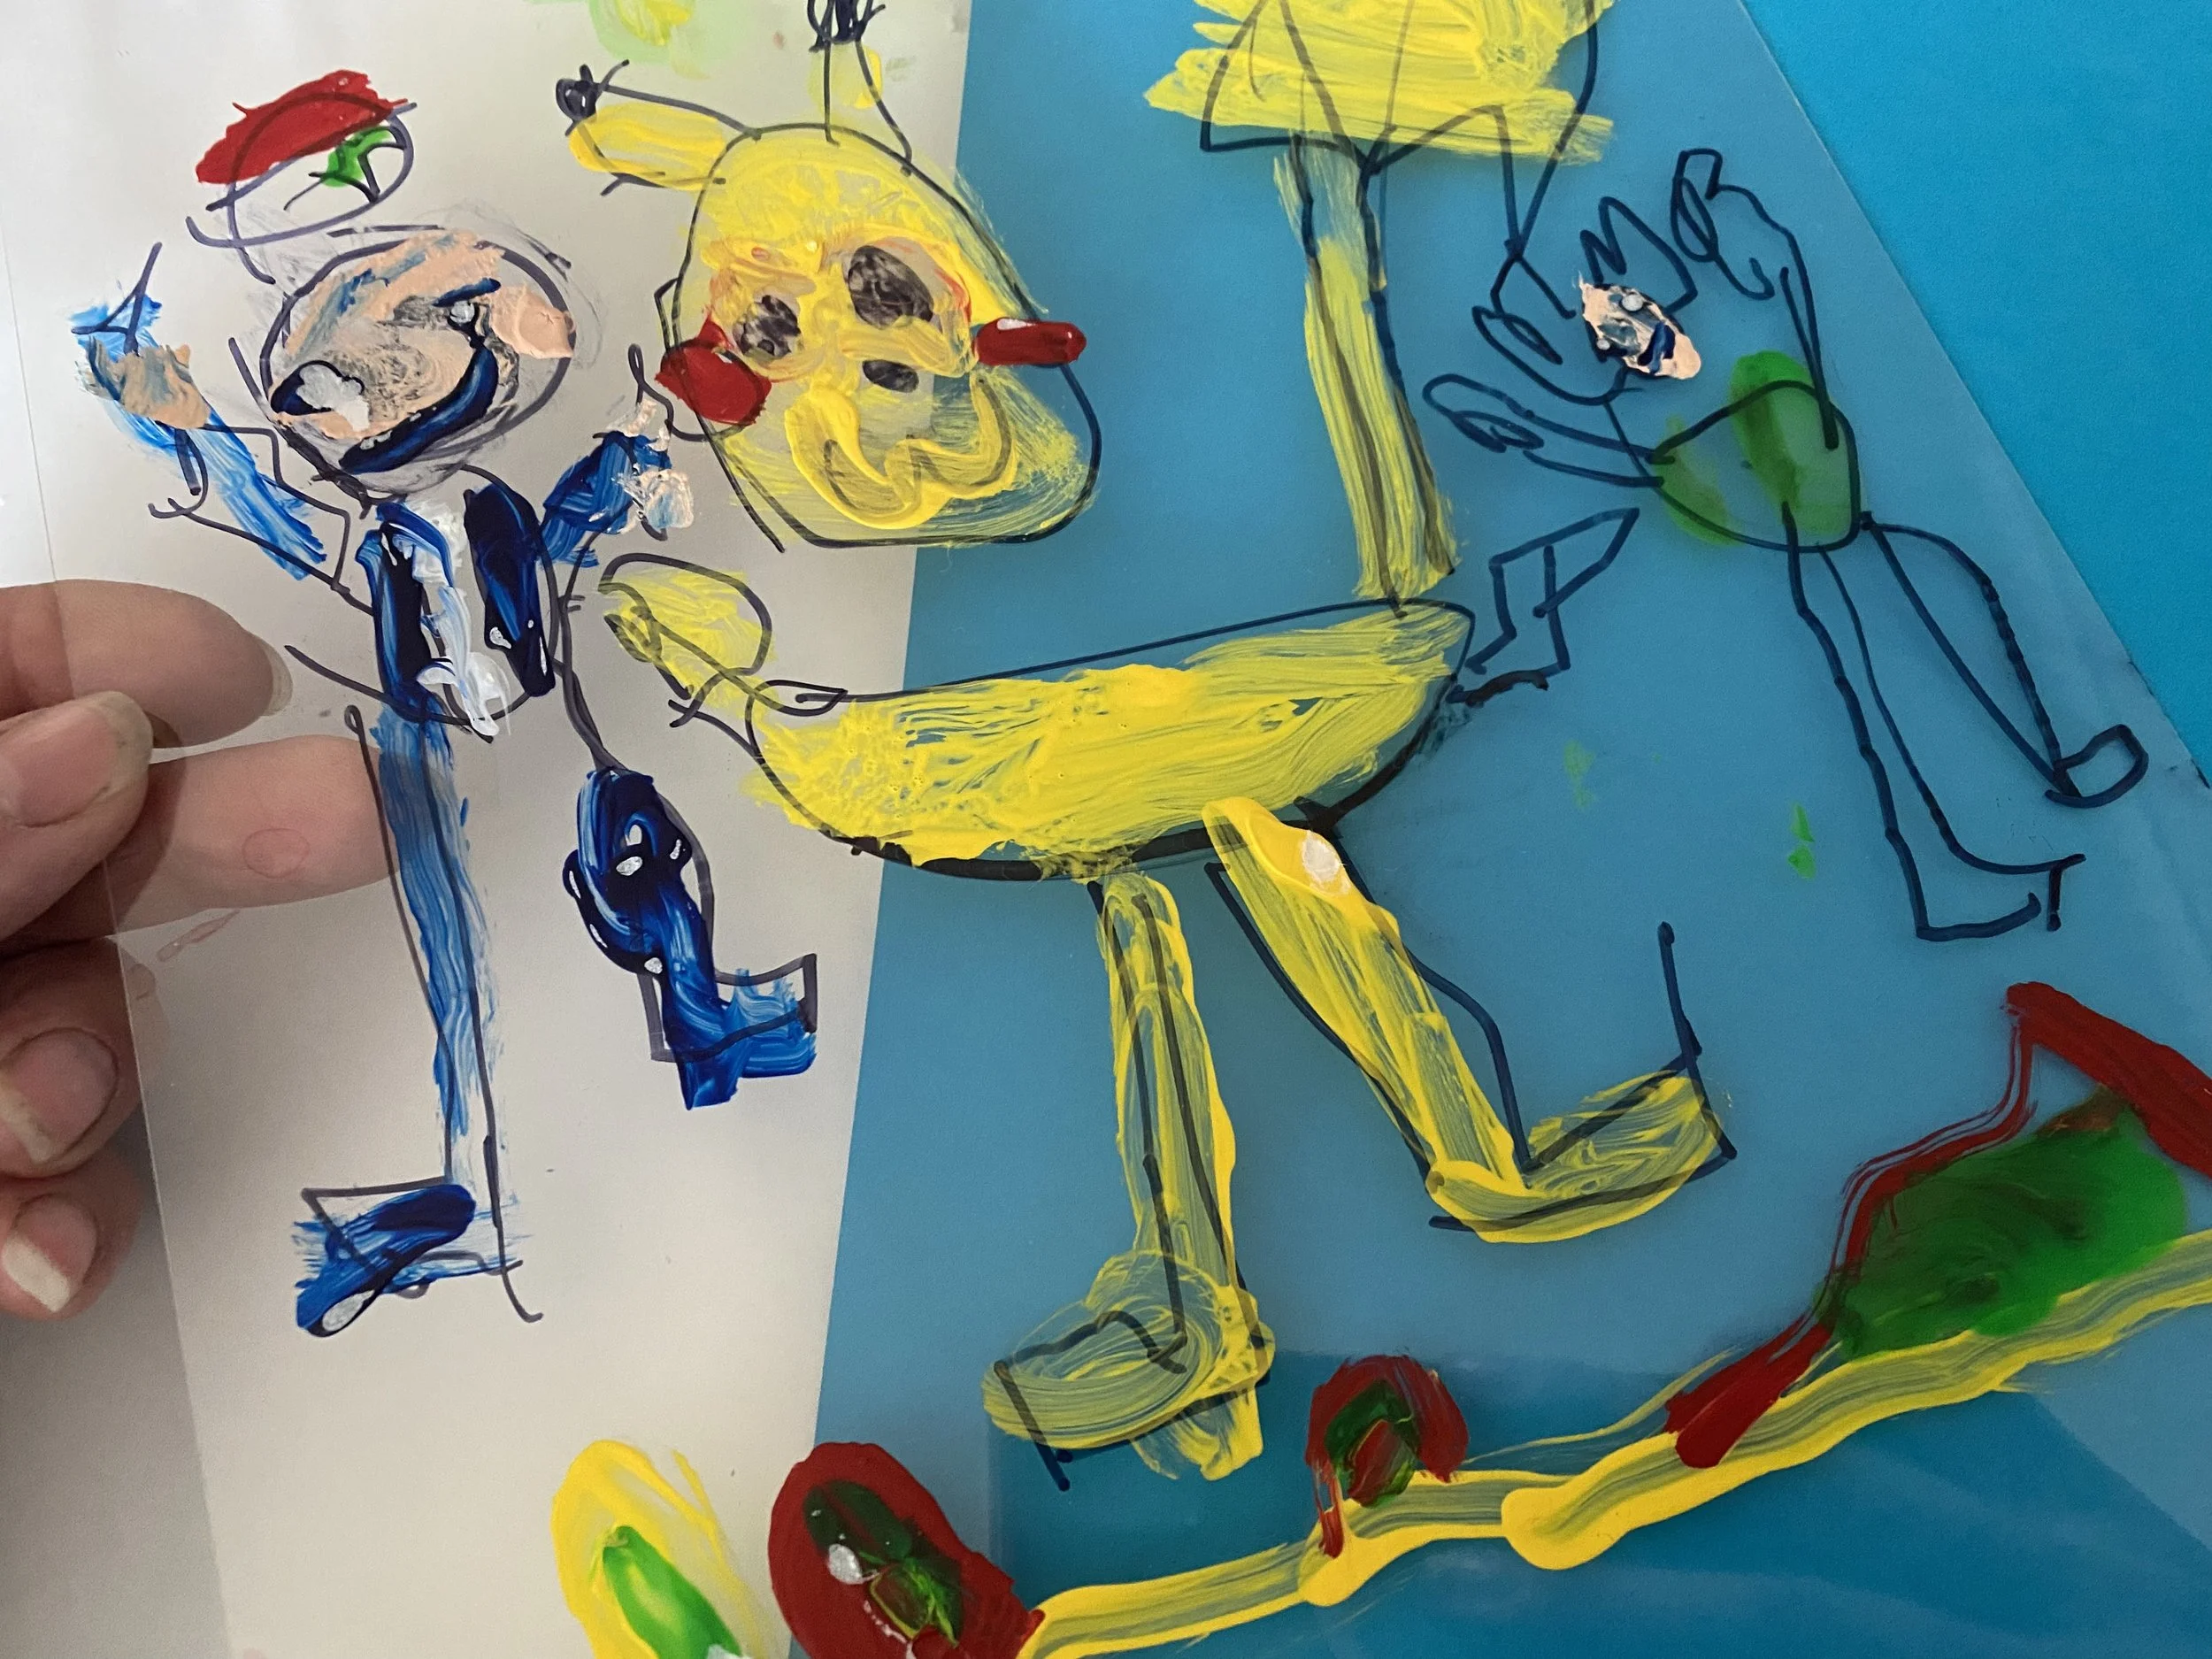
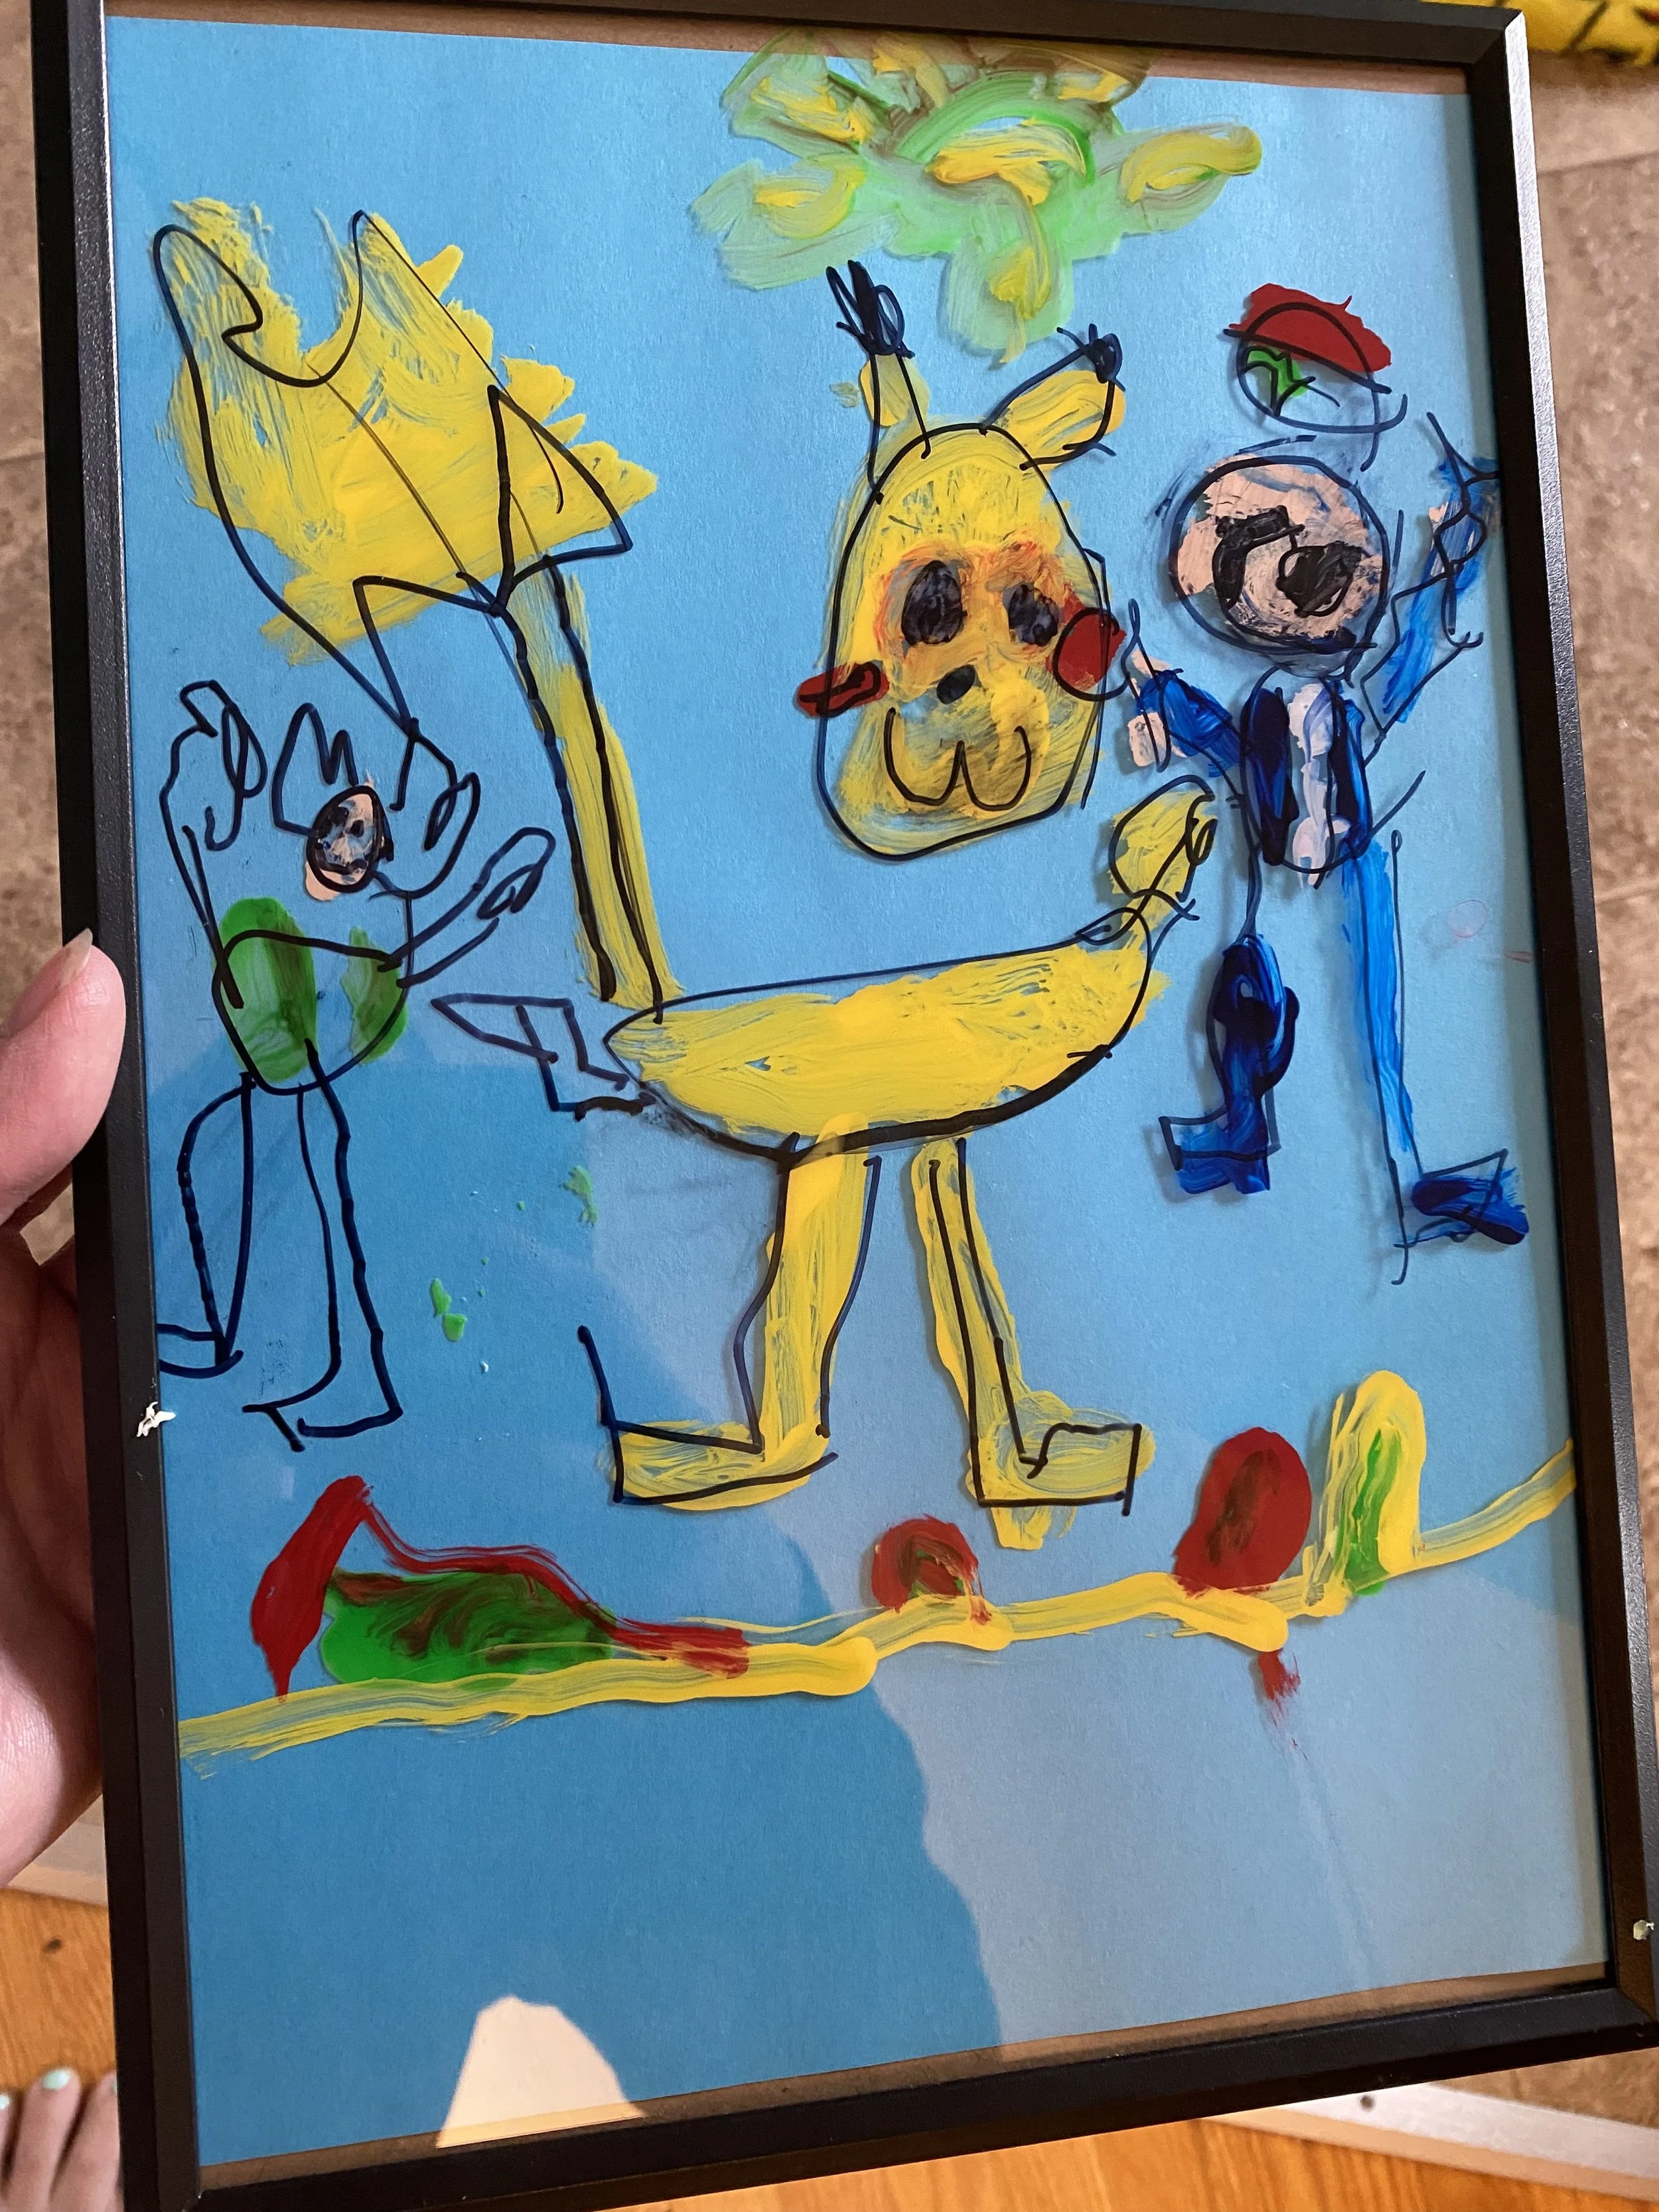
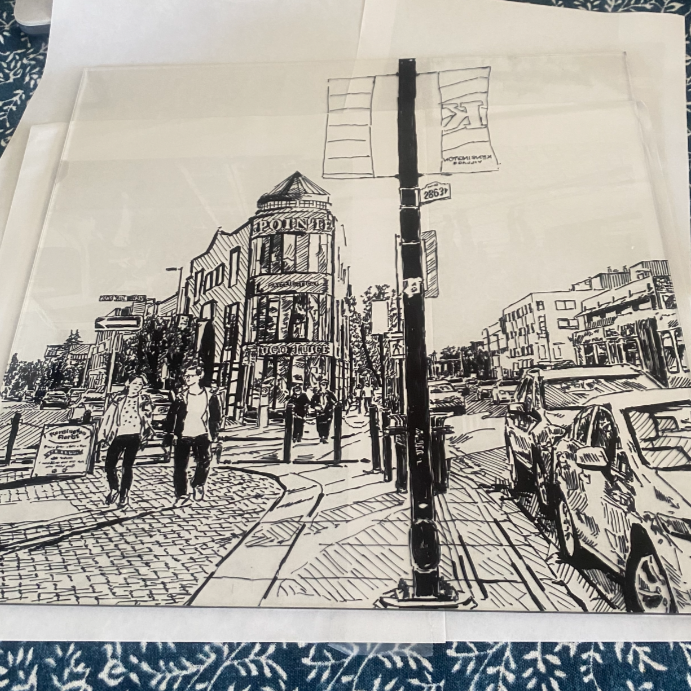
This project we can focus on a certain subject or leave it open for the artist to choose. Have the student draw with a dark marker on a piece of tracing paper. Flip the tracing paper and have the artists now trace their backwards drawings on the plexiglass with sharpie. The side of the plexiglass with the sharpie will eventually be the back of the artwork which is why the image is flipped. Sharpie mistakes can be fixed with a q-tip and some hand sanitizer.

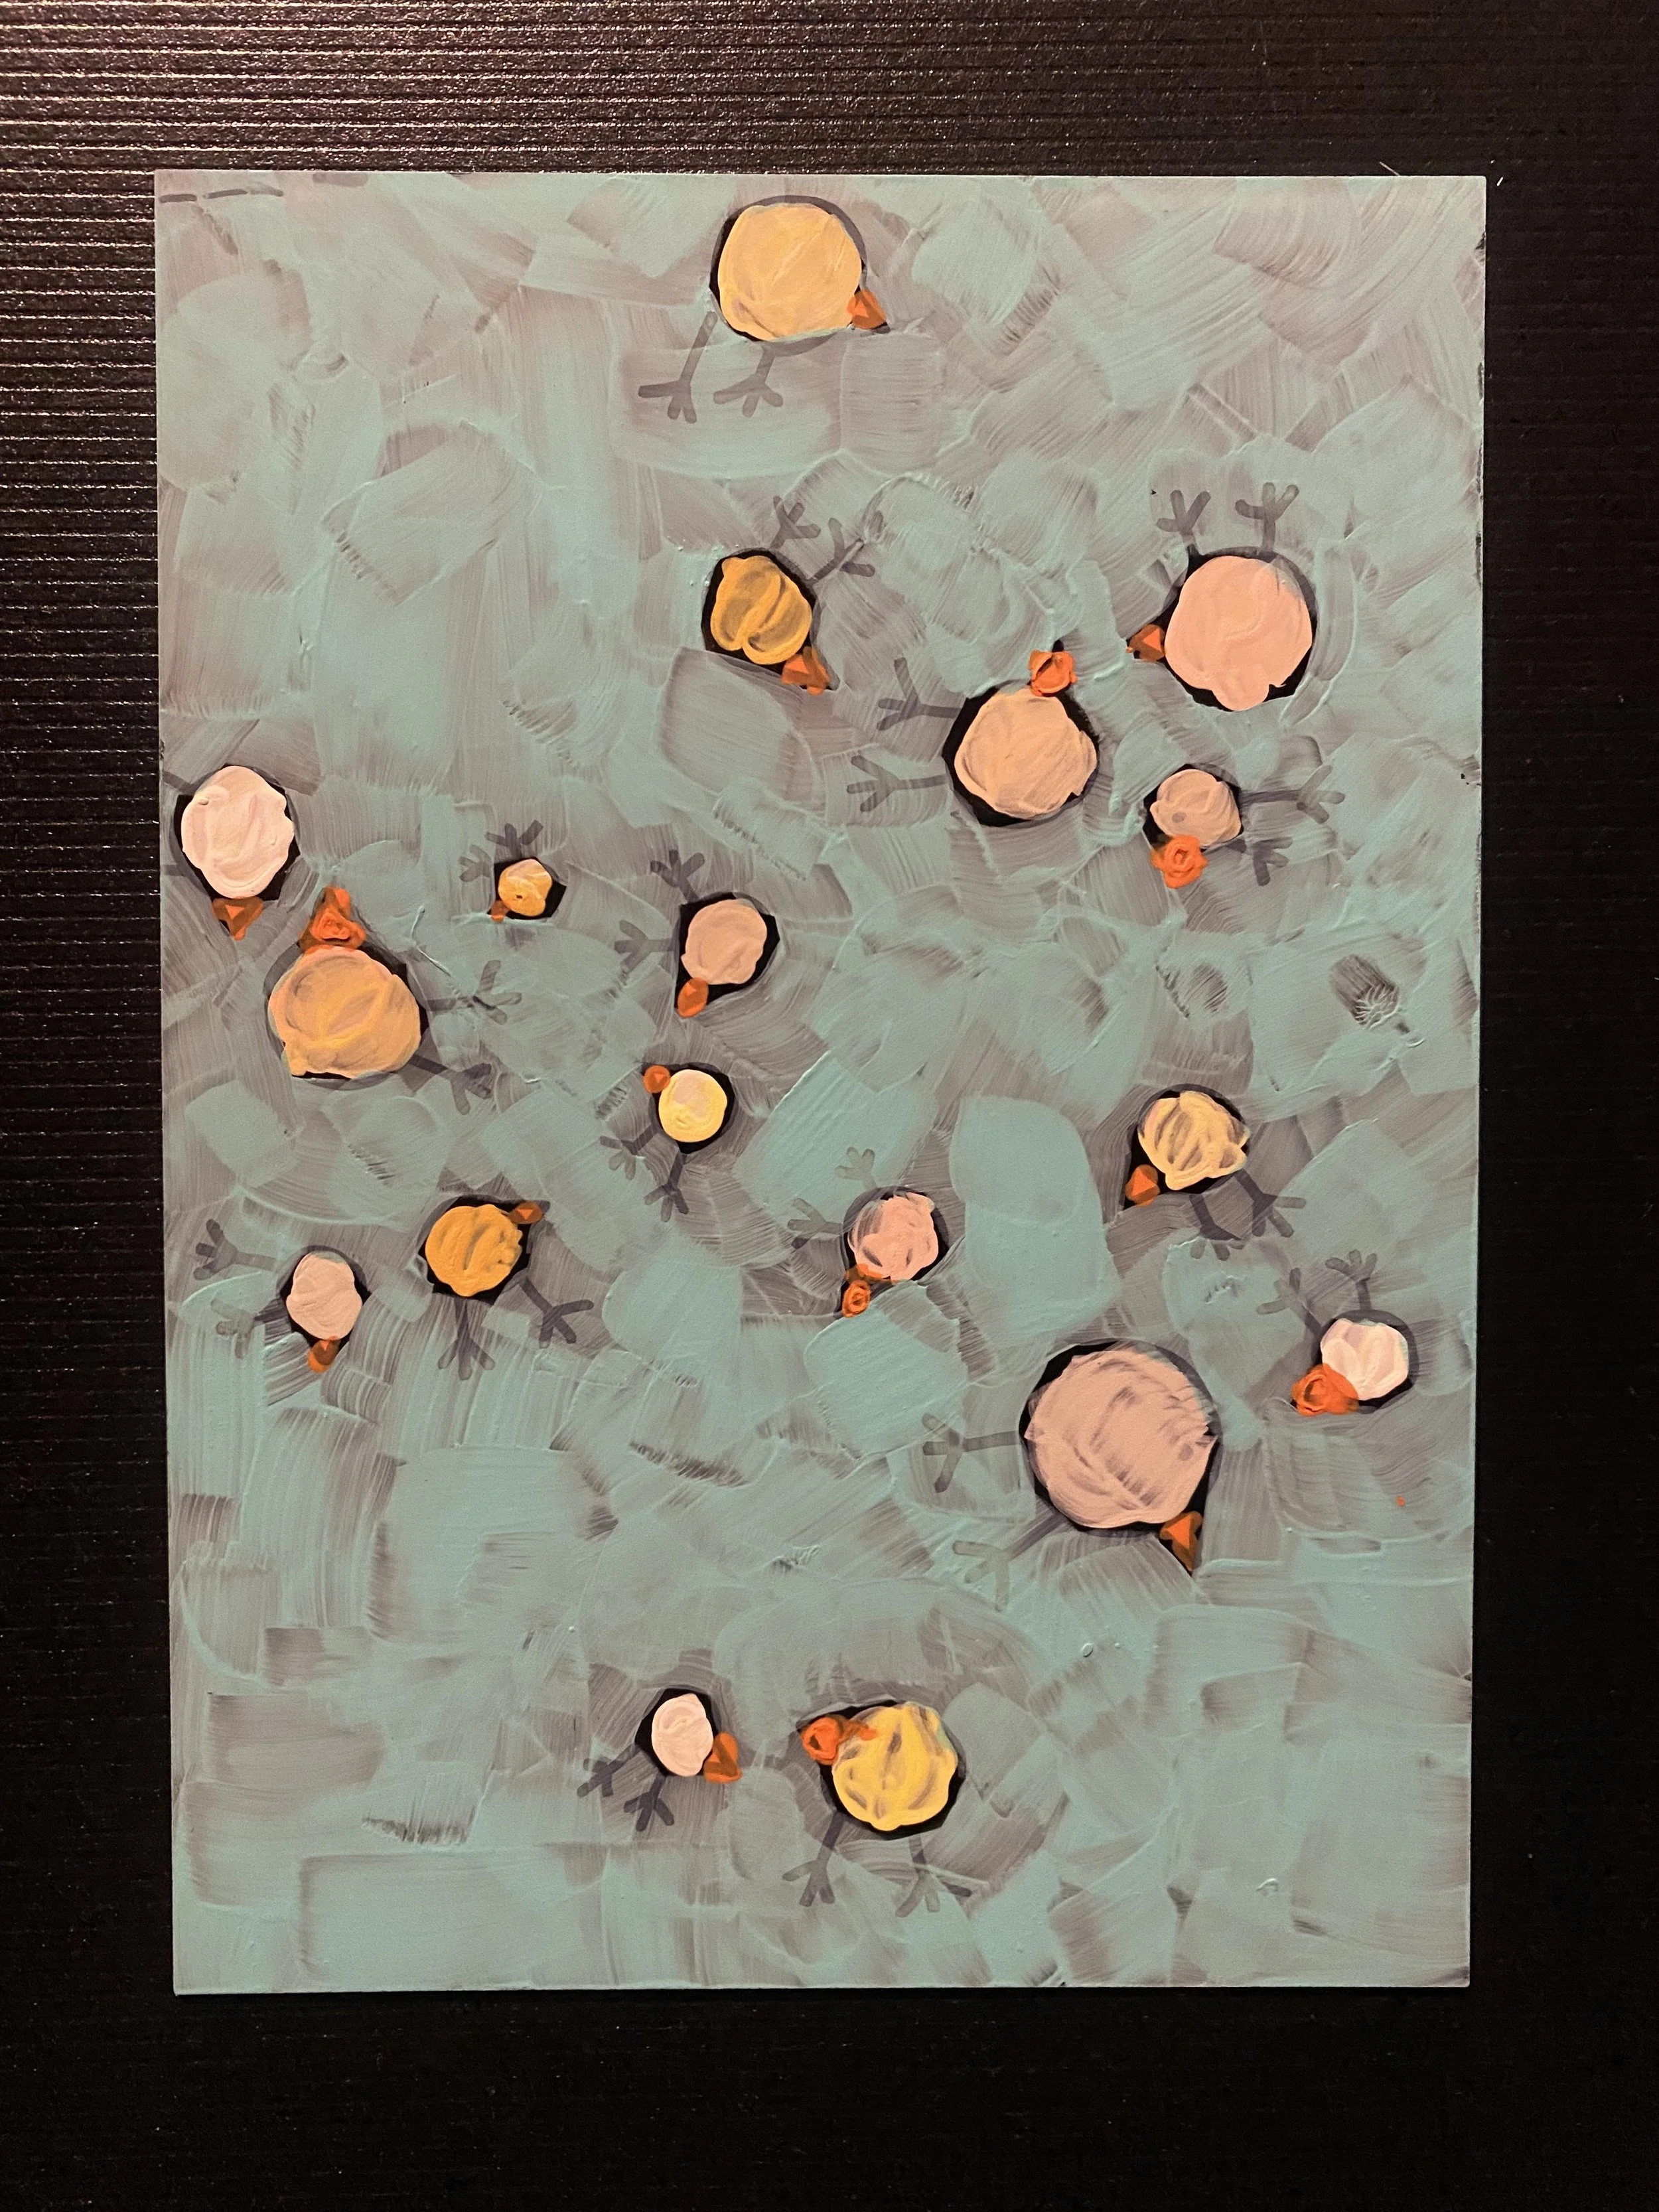
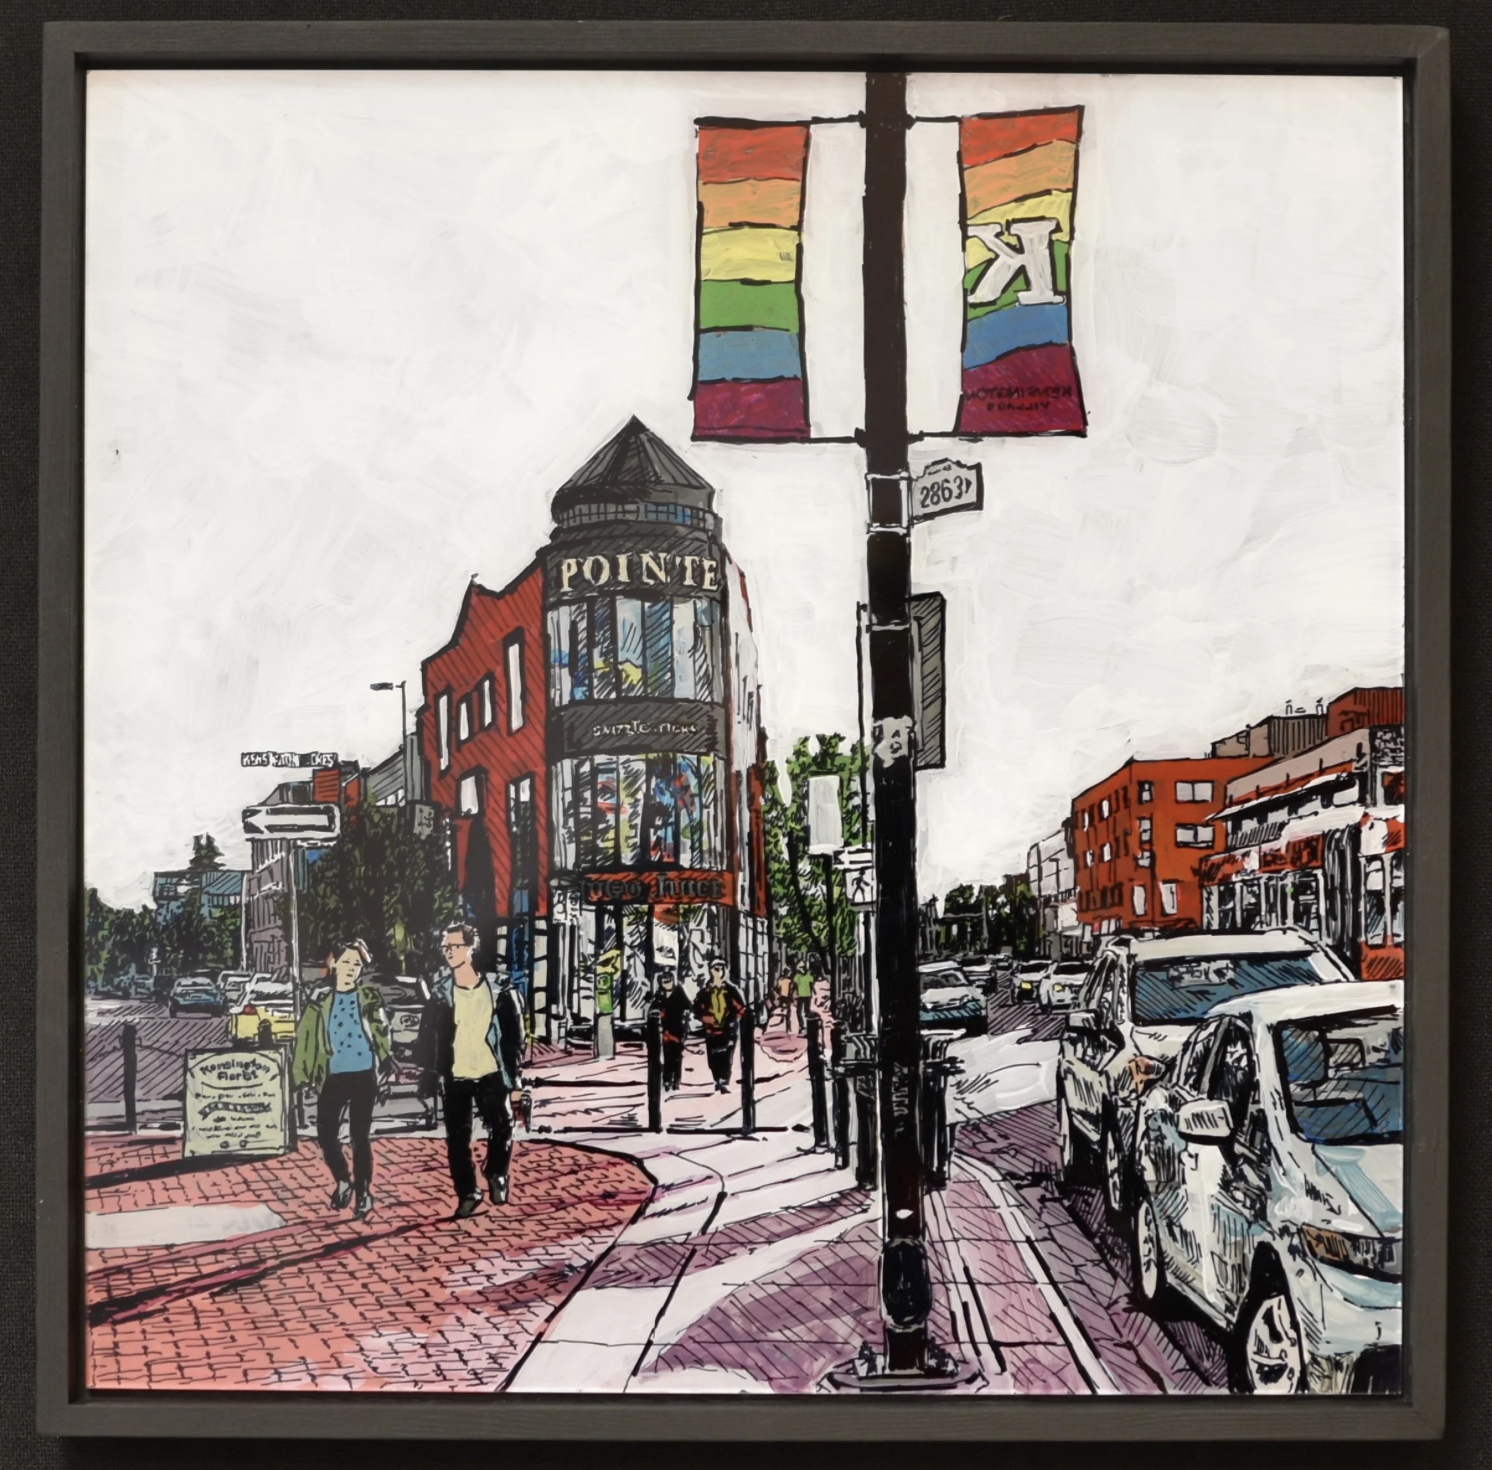
Once the sharpie drawing is complete on the plexiglass have the students start painting with the main focus and the smallest areas. They can always check on their progress by holding the plexiglass up and looking at the bottom as that will be the front when the project is complete. Fill the whole plexiglass with acrylic paint.

When the paint is dry you can put it back in the frame and hang it on the wall!

Materials:

  • Frame (with plexiglass)

  • Sharpies

  • Paint

  • Paint pallette

  • Brushes
  • Tracing paper

  • Water containers

  • Hand sanitizer and q-tip

Depending on the age and level of the student you can:

  • Practice drawing skills

  • Learn how to incorporate a background

  • Learn how landscapes change and change colour as they are further away
  • Learn about flipping an image

  • Practice tracing our own drawings

  • Learn how to use acrylic paint, use paint brushes, clean paint brushes, thin layers dry faster

Sun prints - Cyanotype

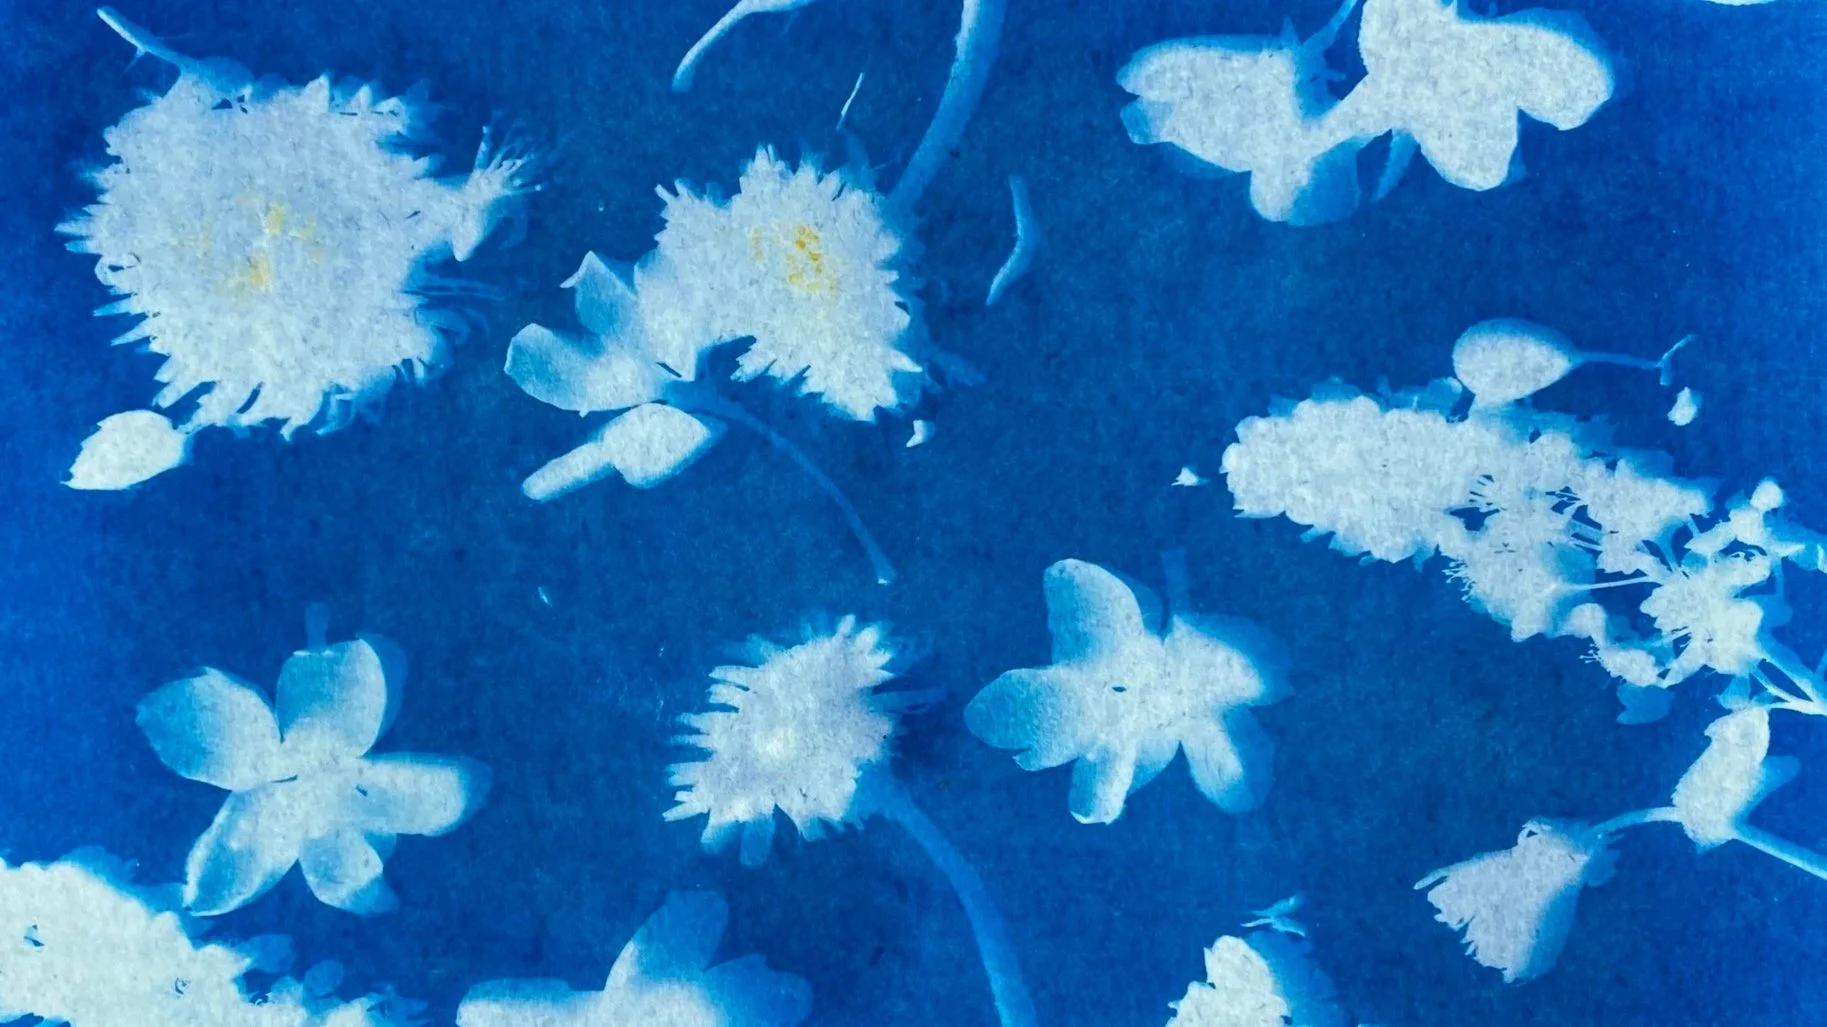
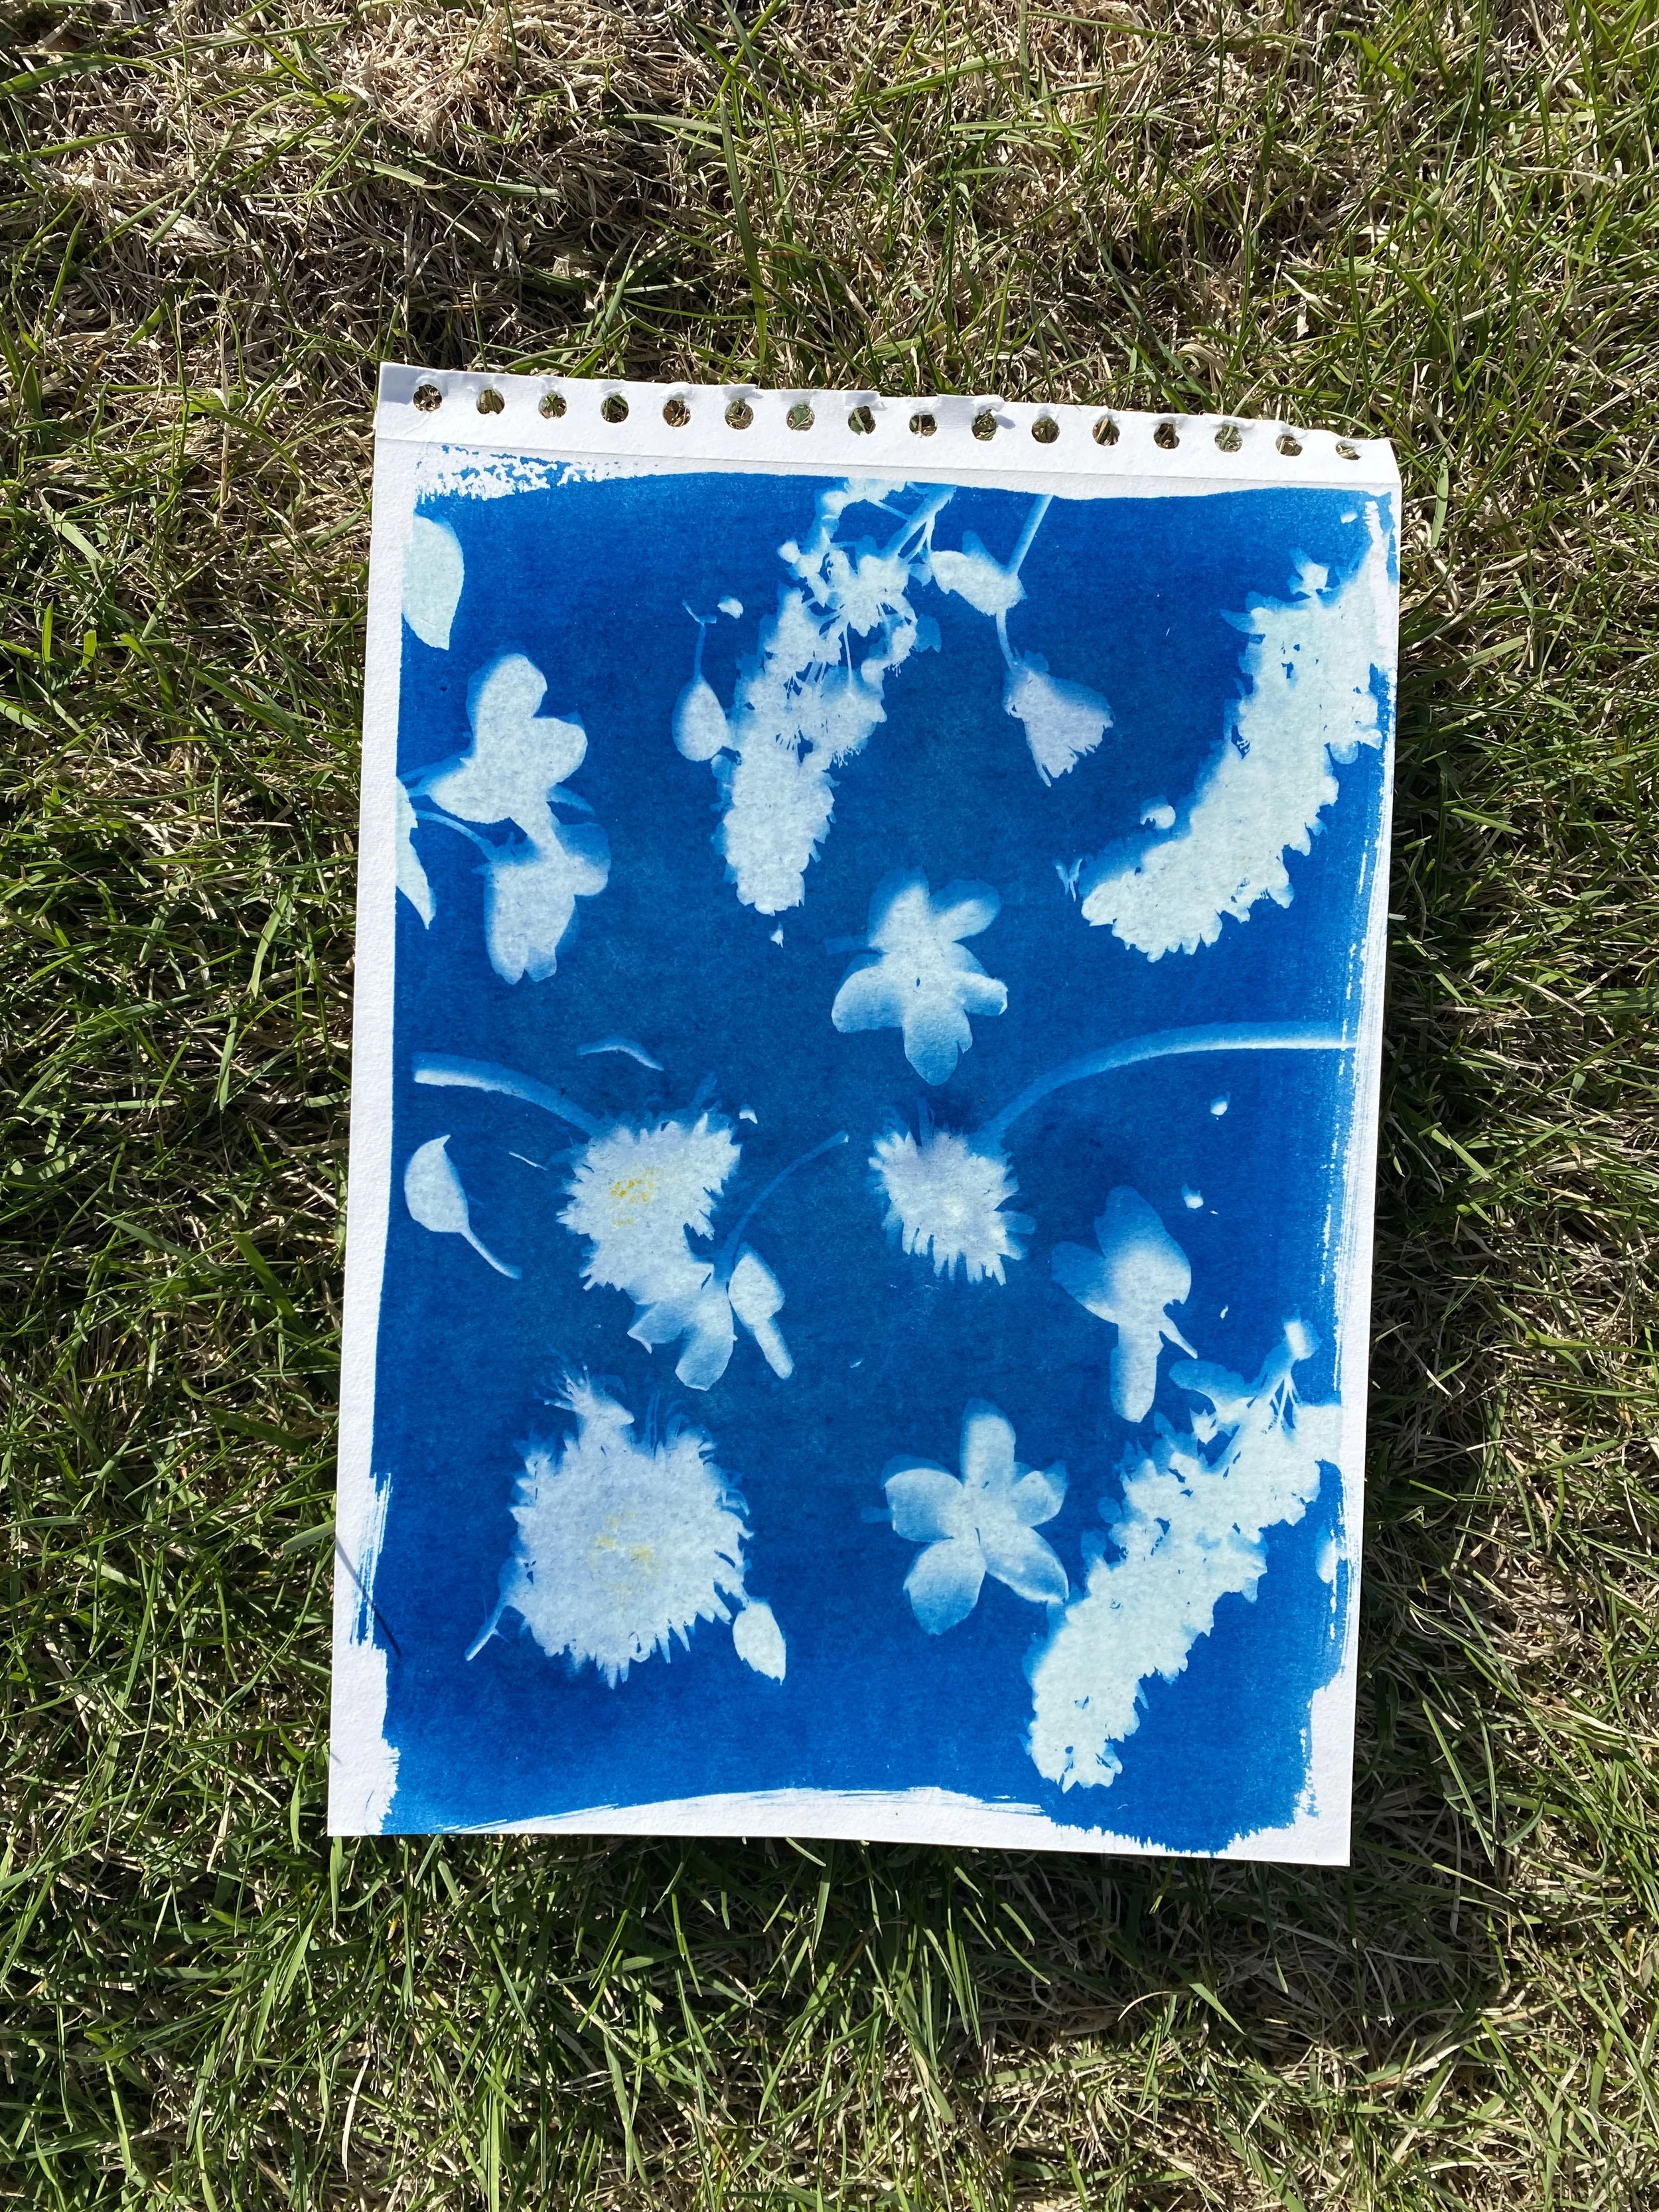
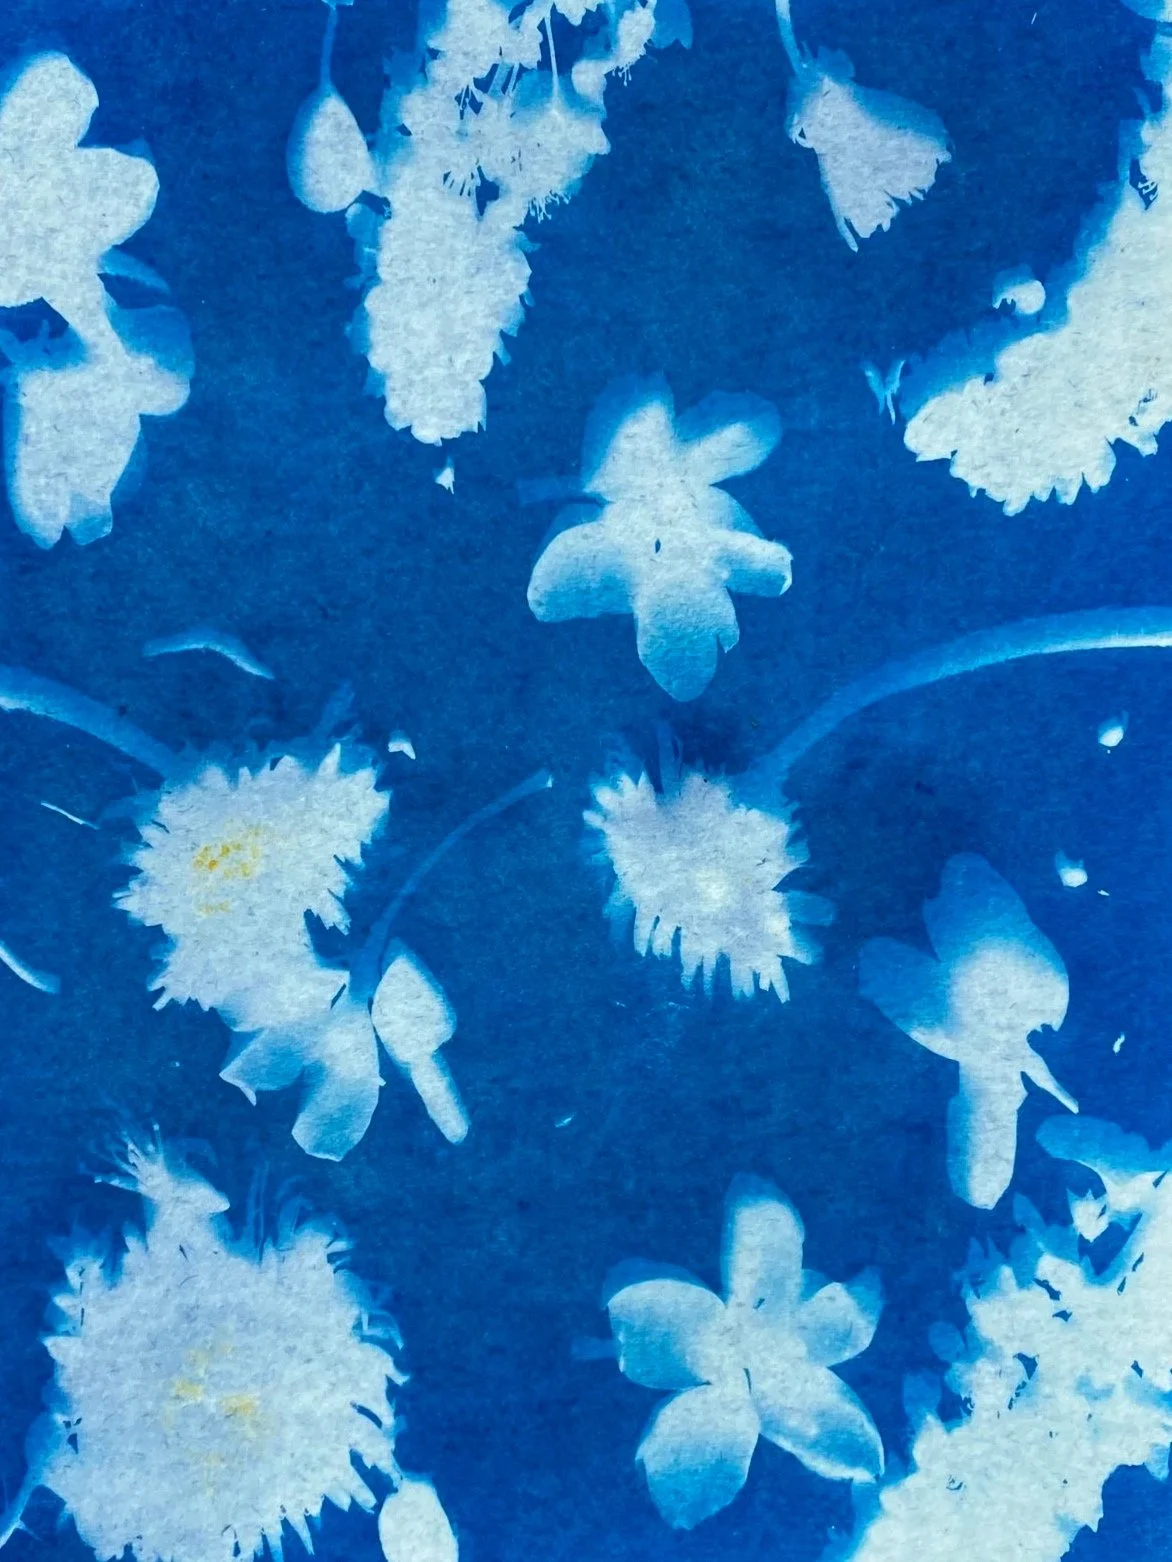
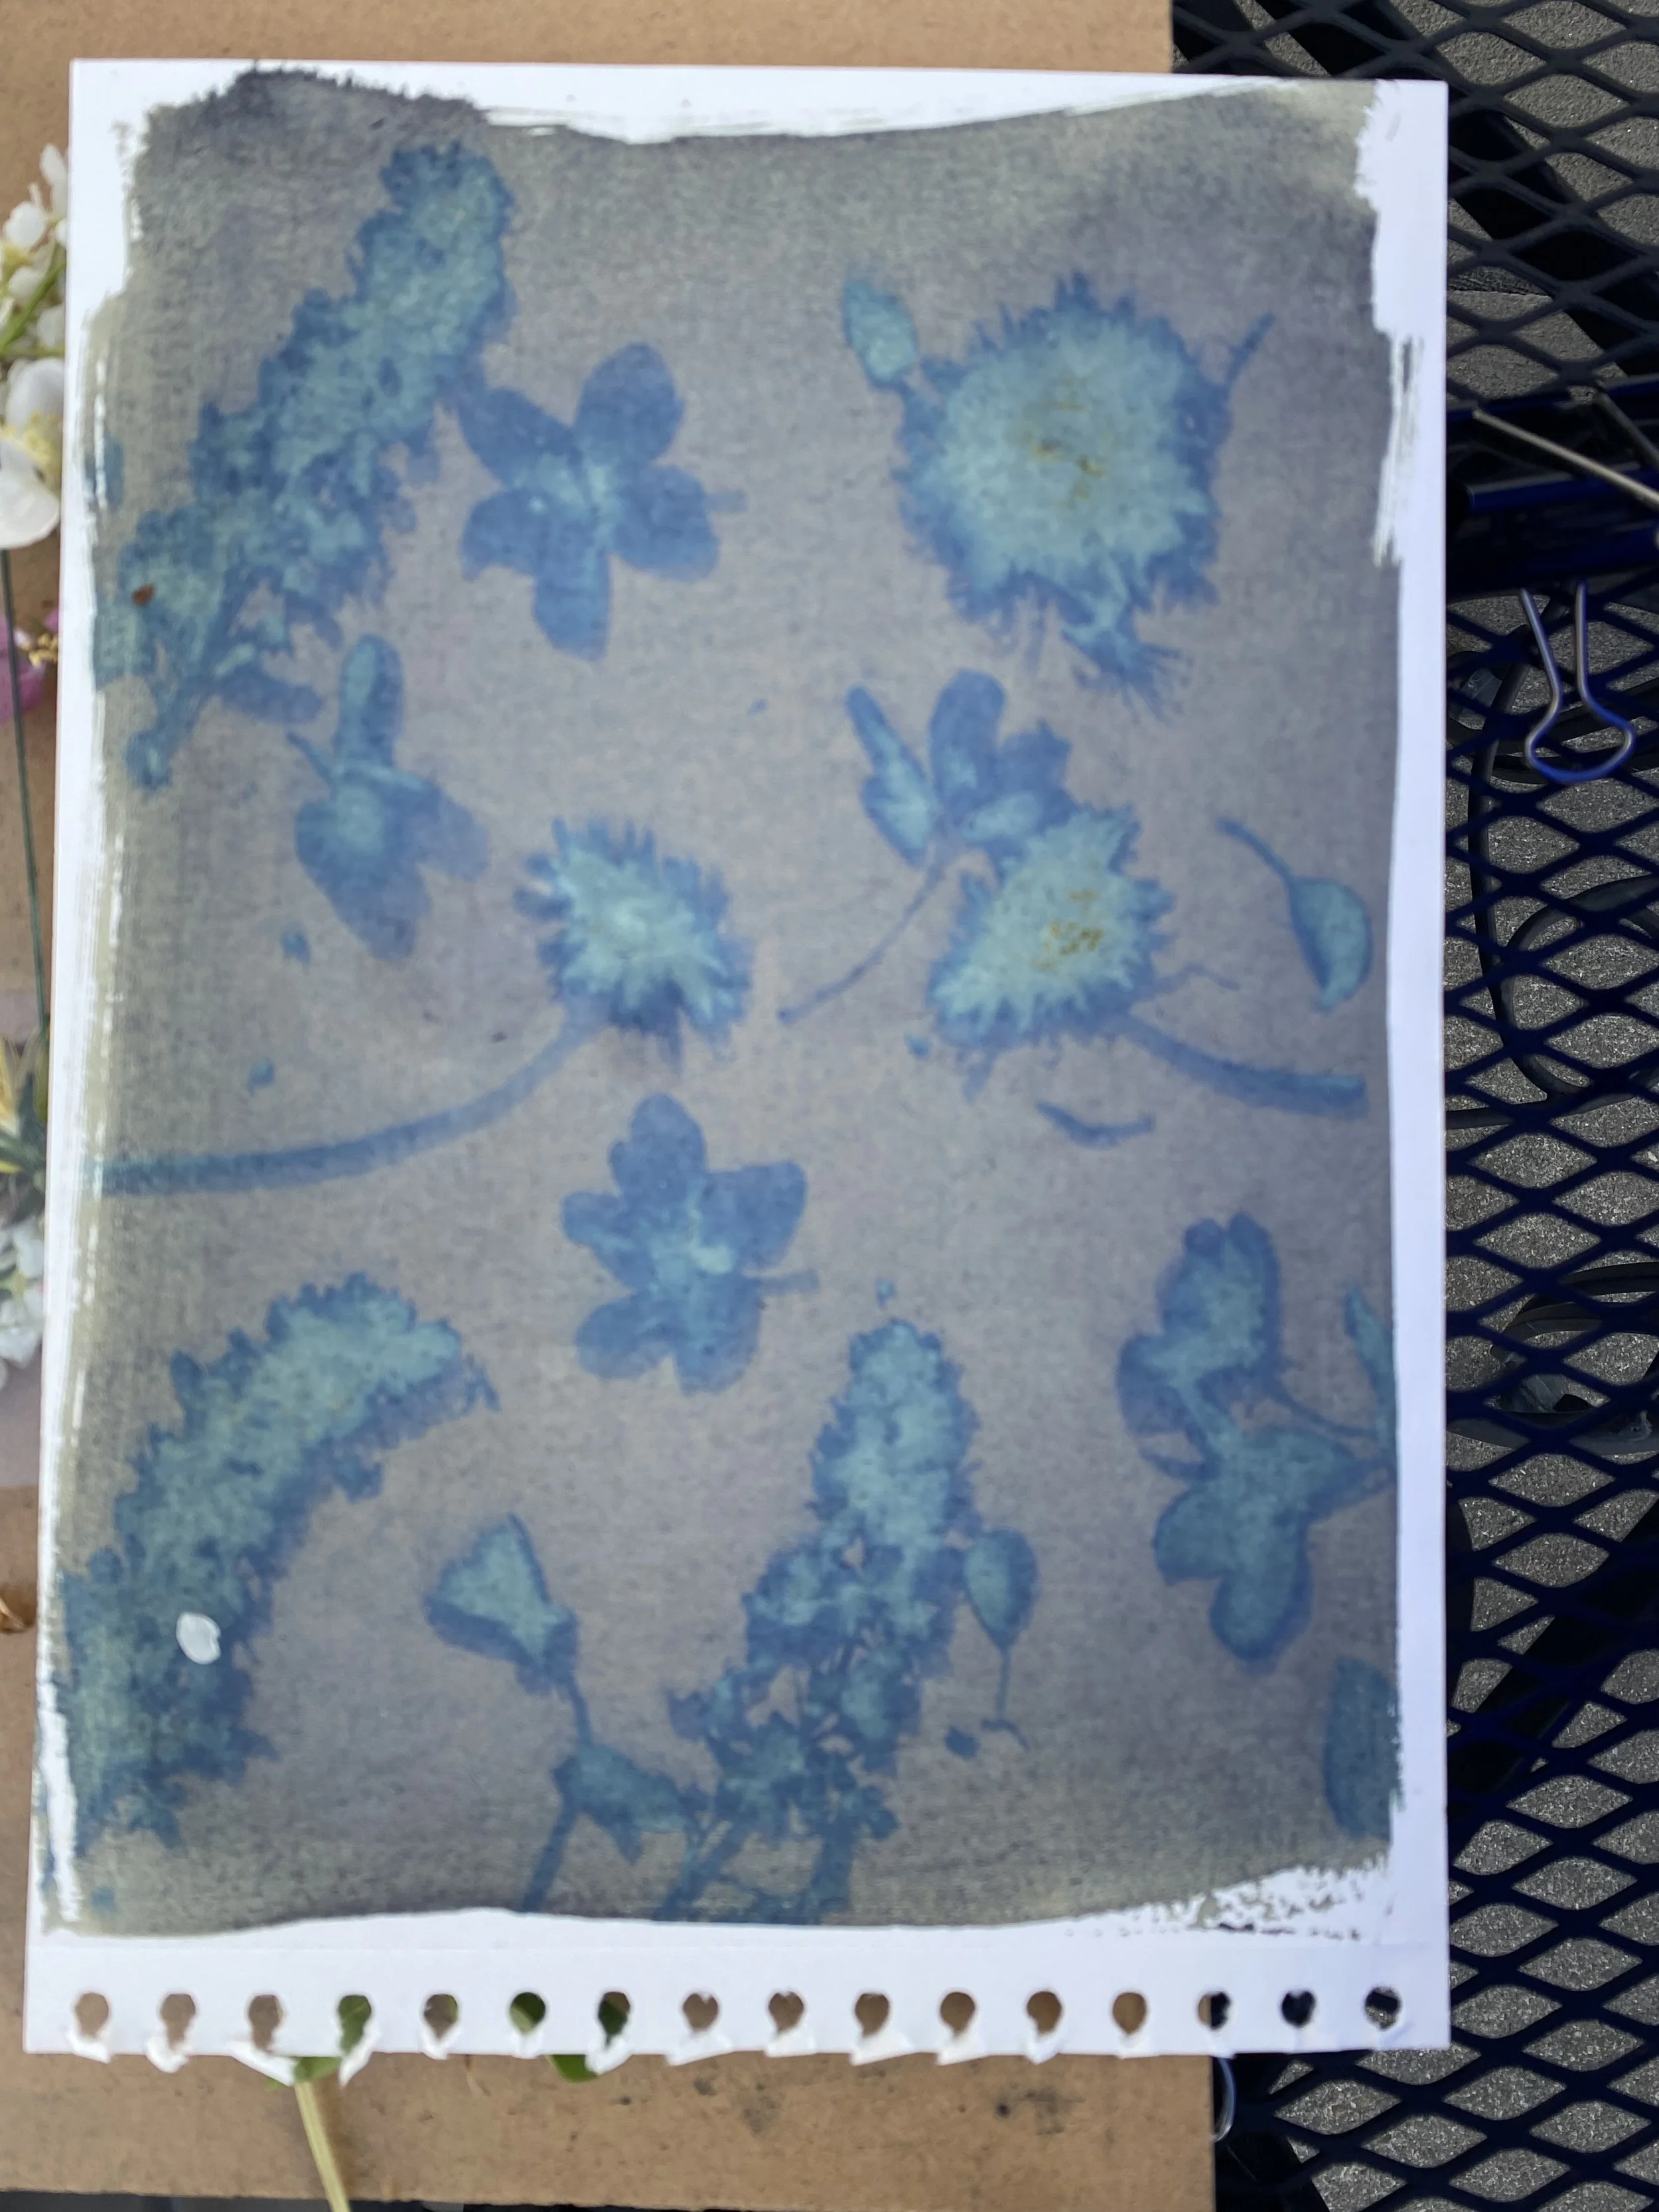
Cyanotype image made with flower and leaves

Watch the sun create a dark blue piece of art with paper, flowers and leaves.

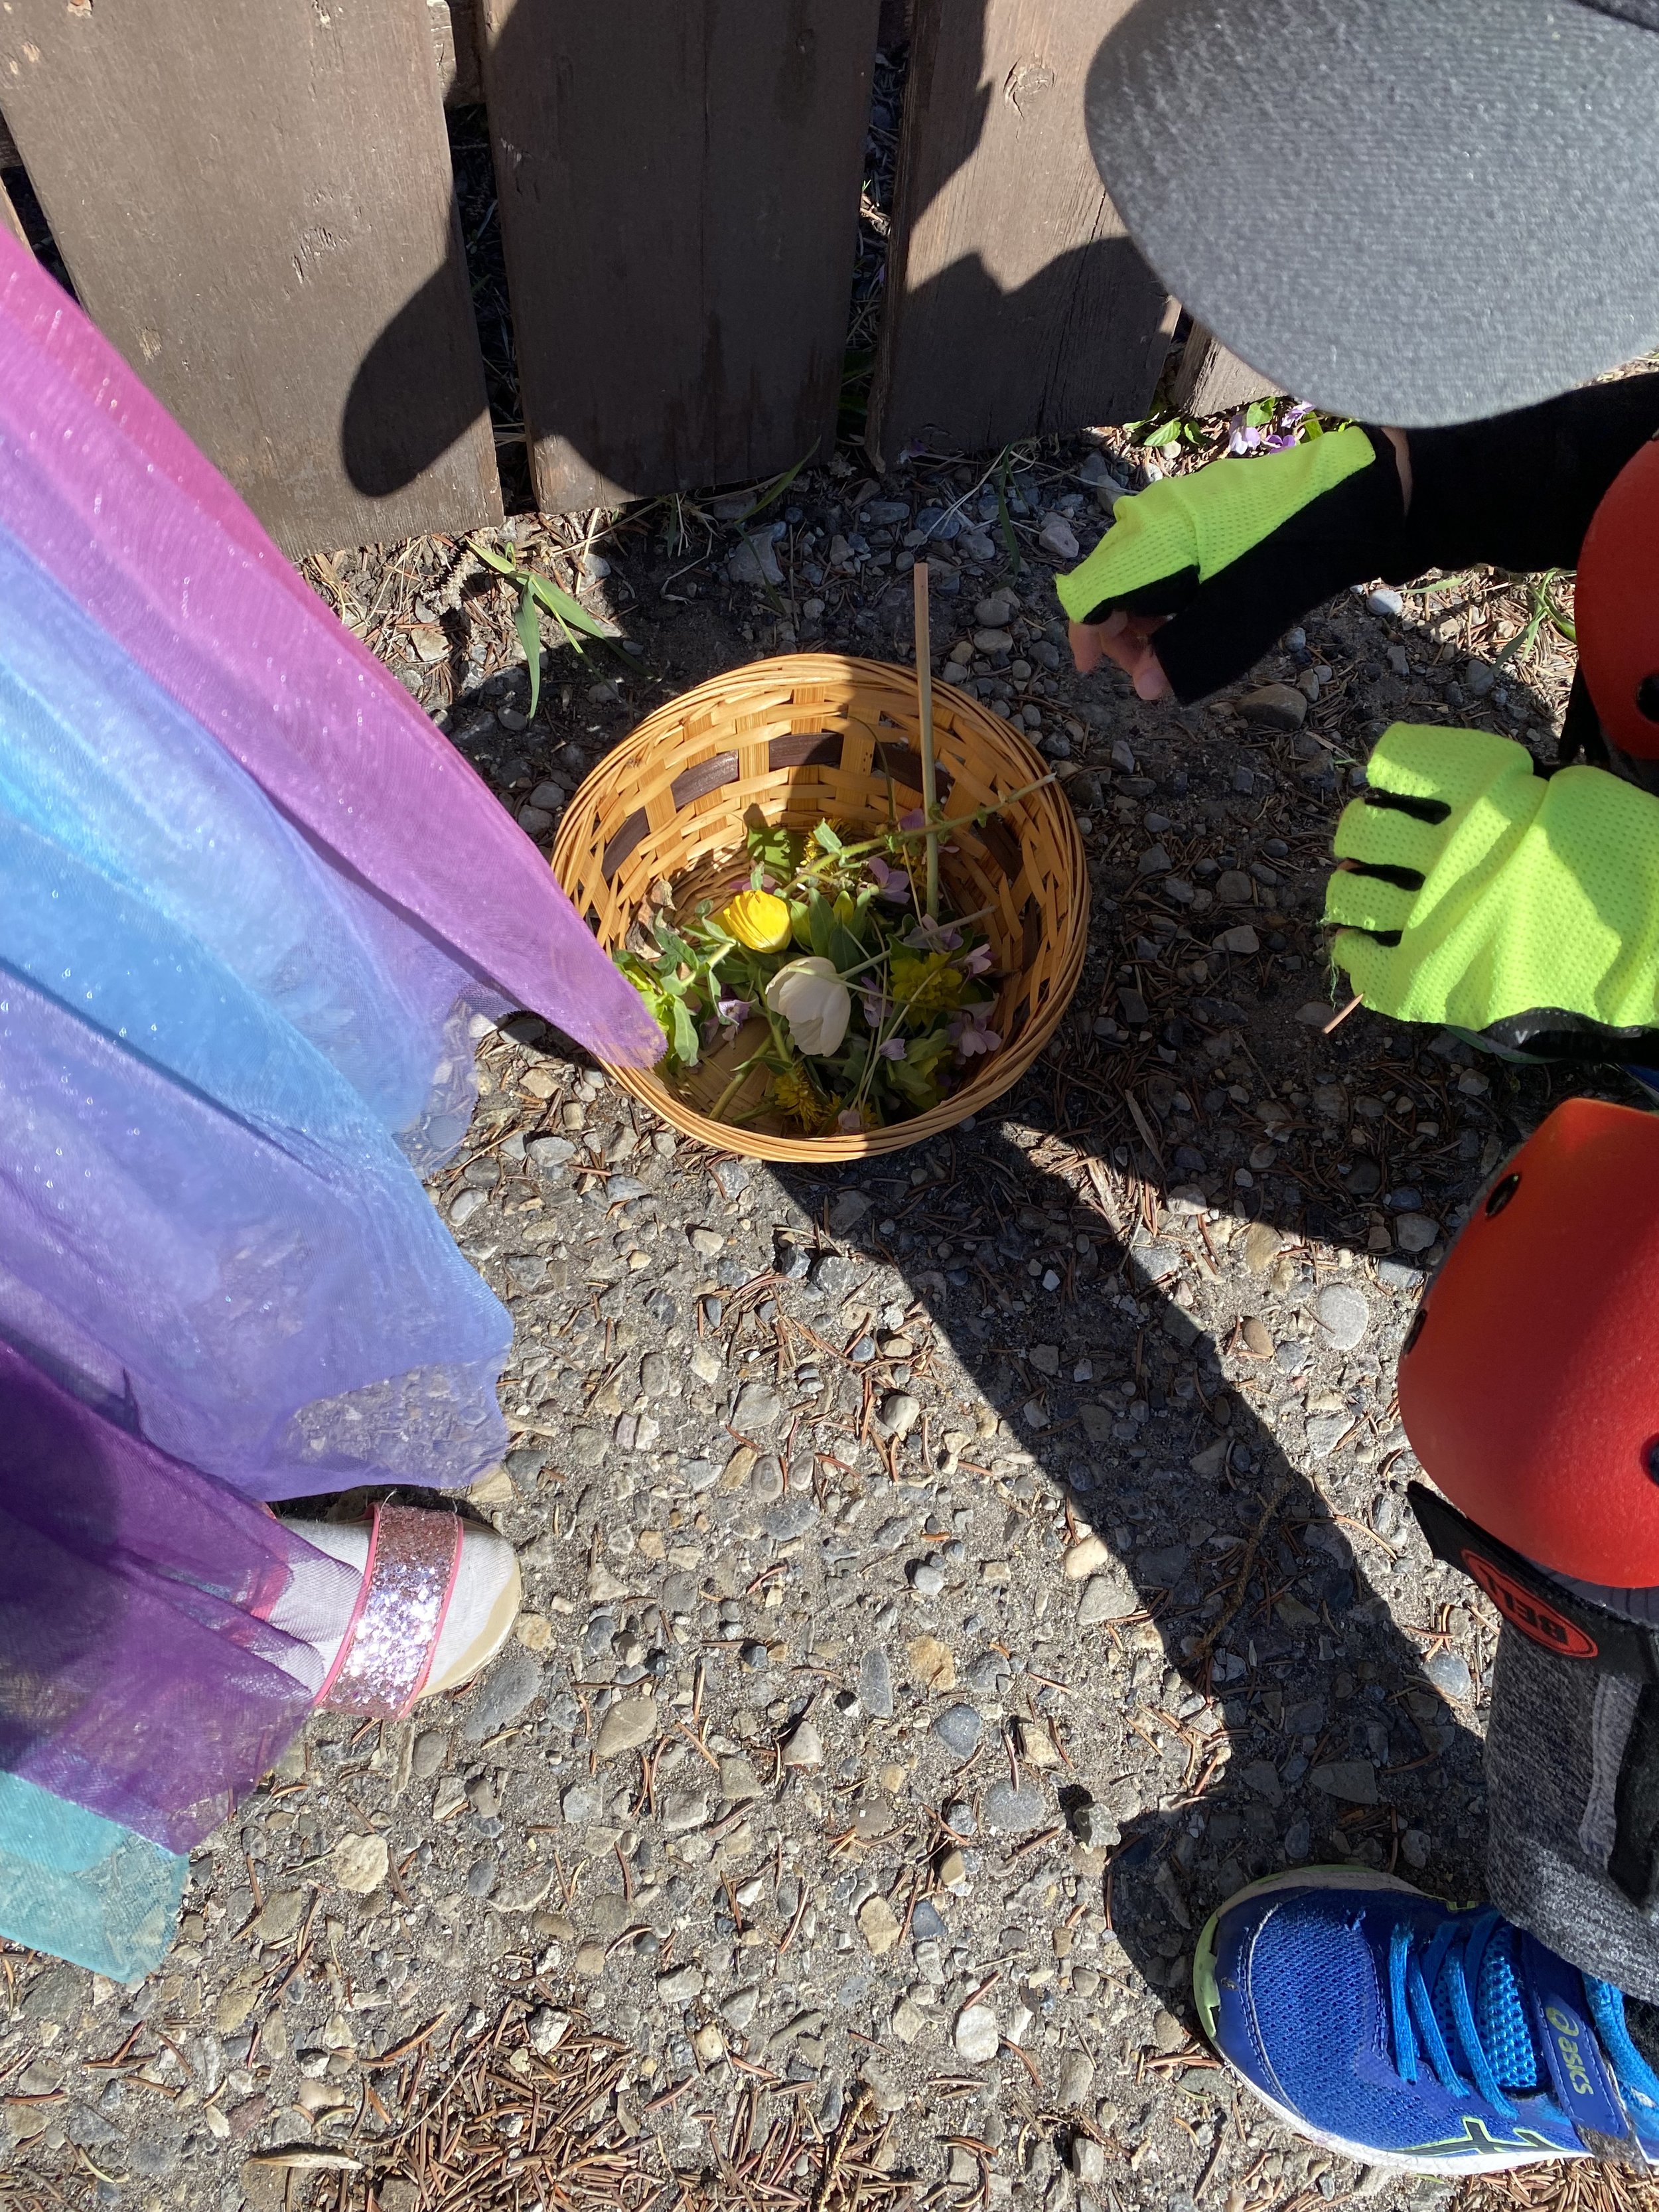
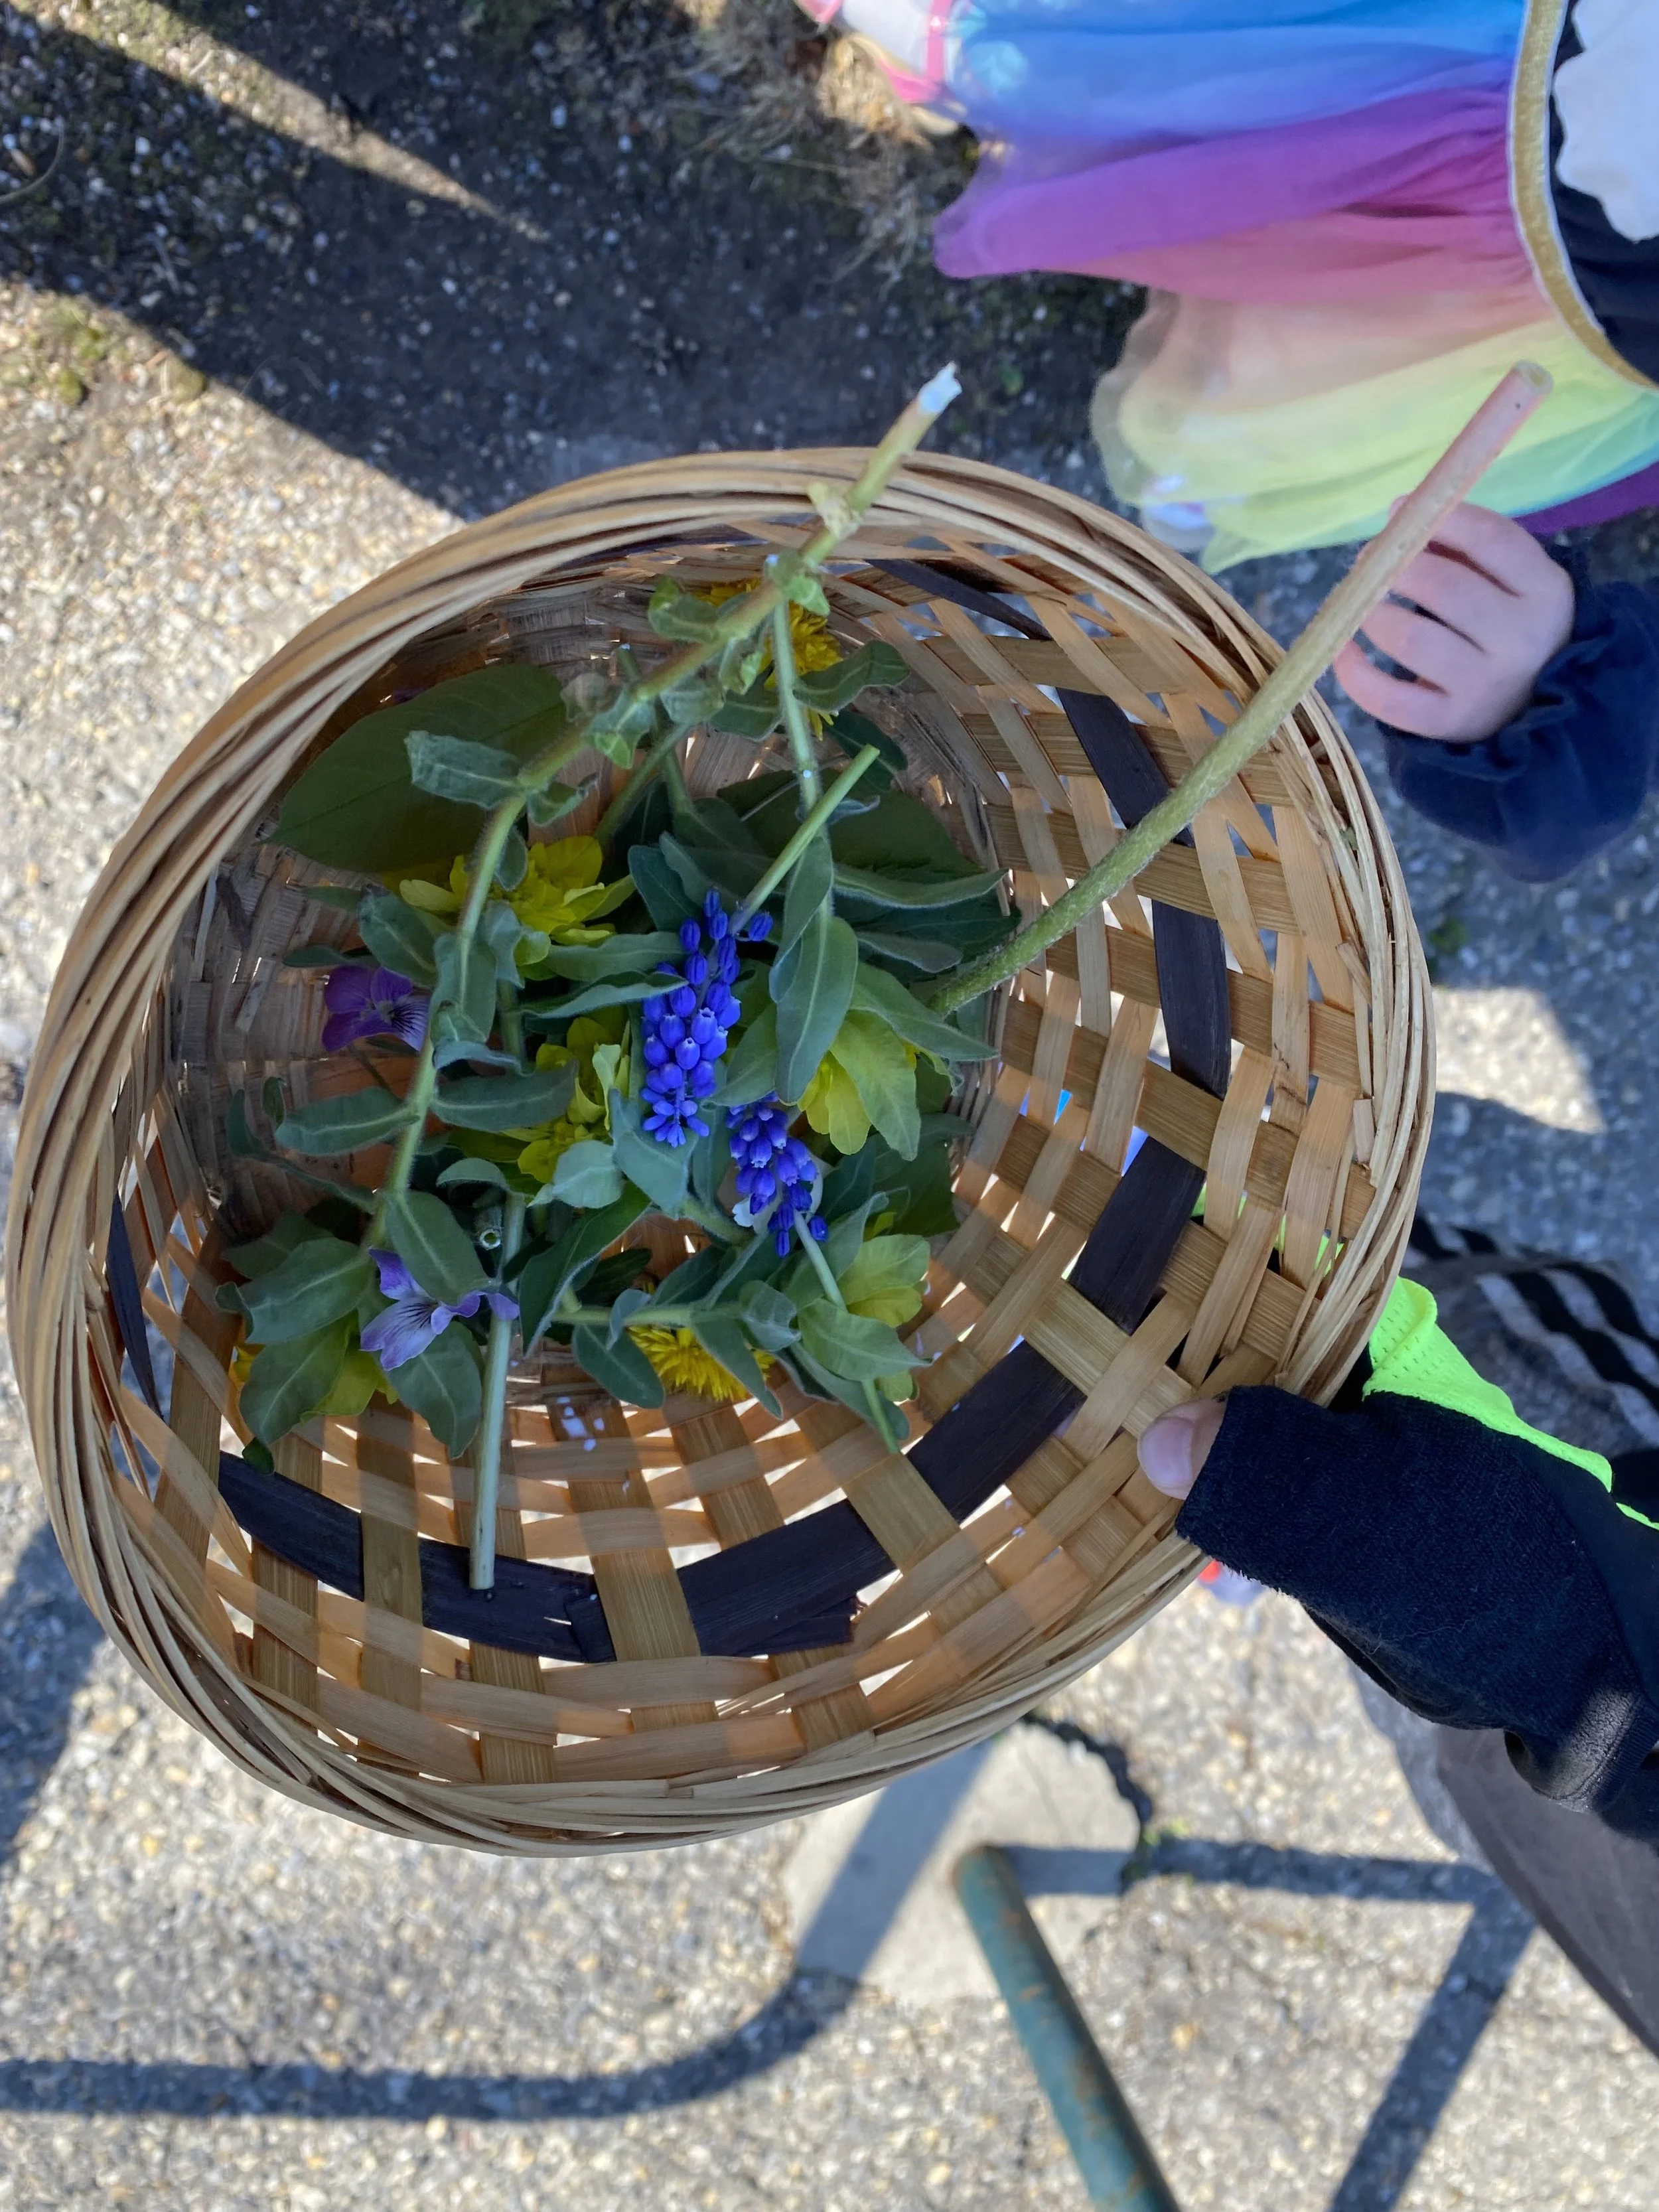
For this project we start outside and collect plants, leaves, and flowers. We can also look around the classroom for flat objects to use on the light sensitive paper.

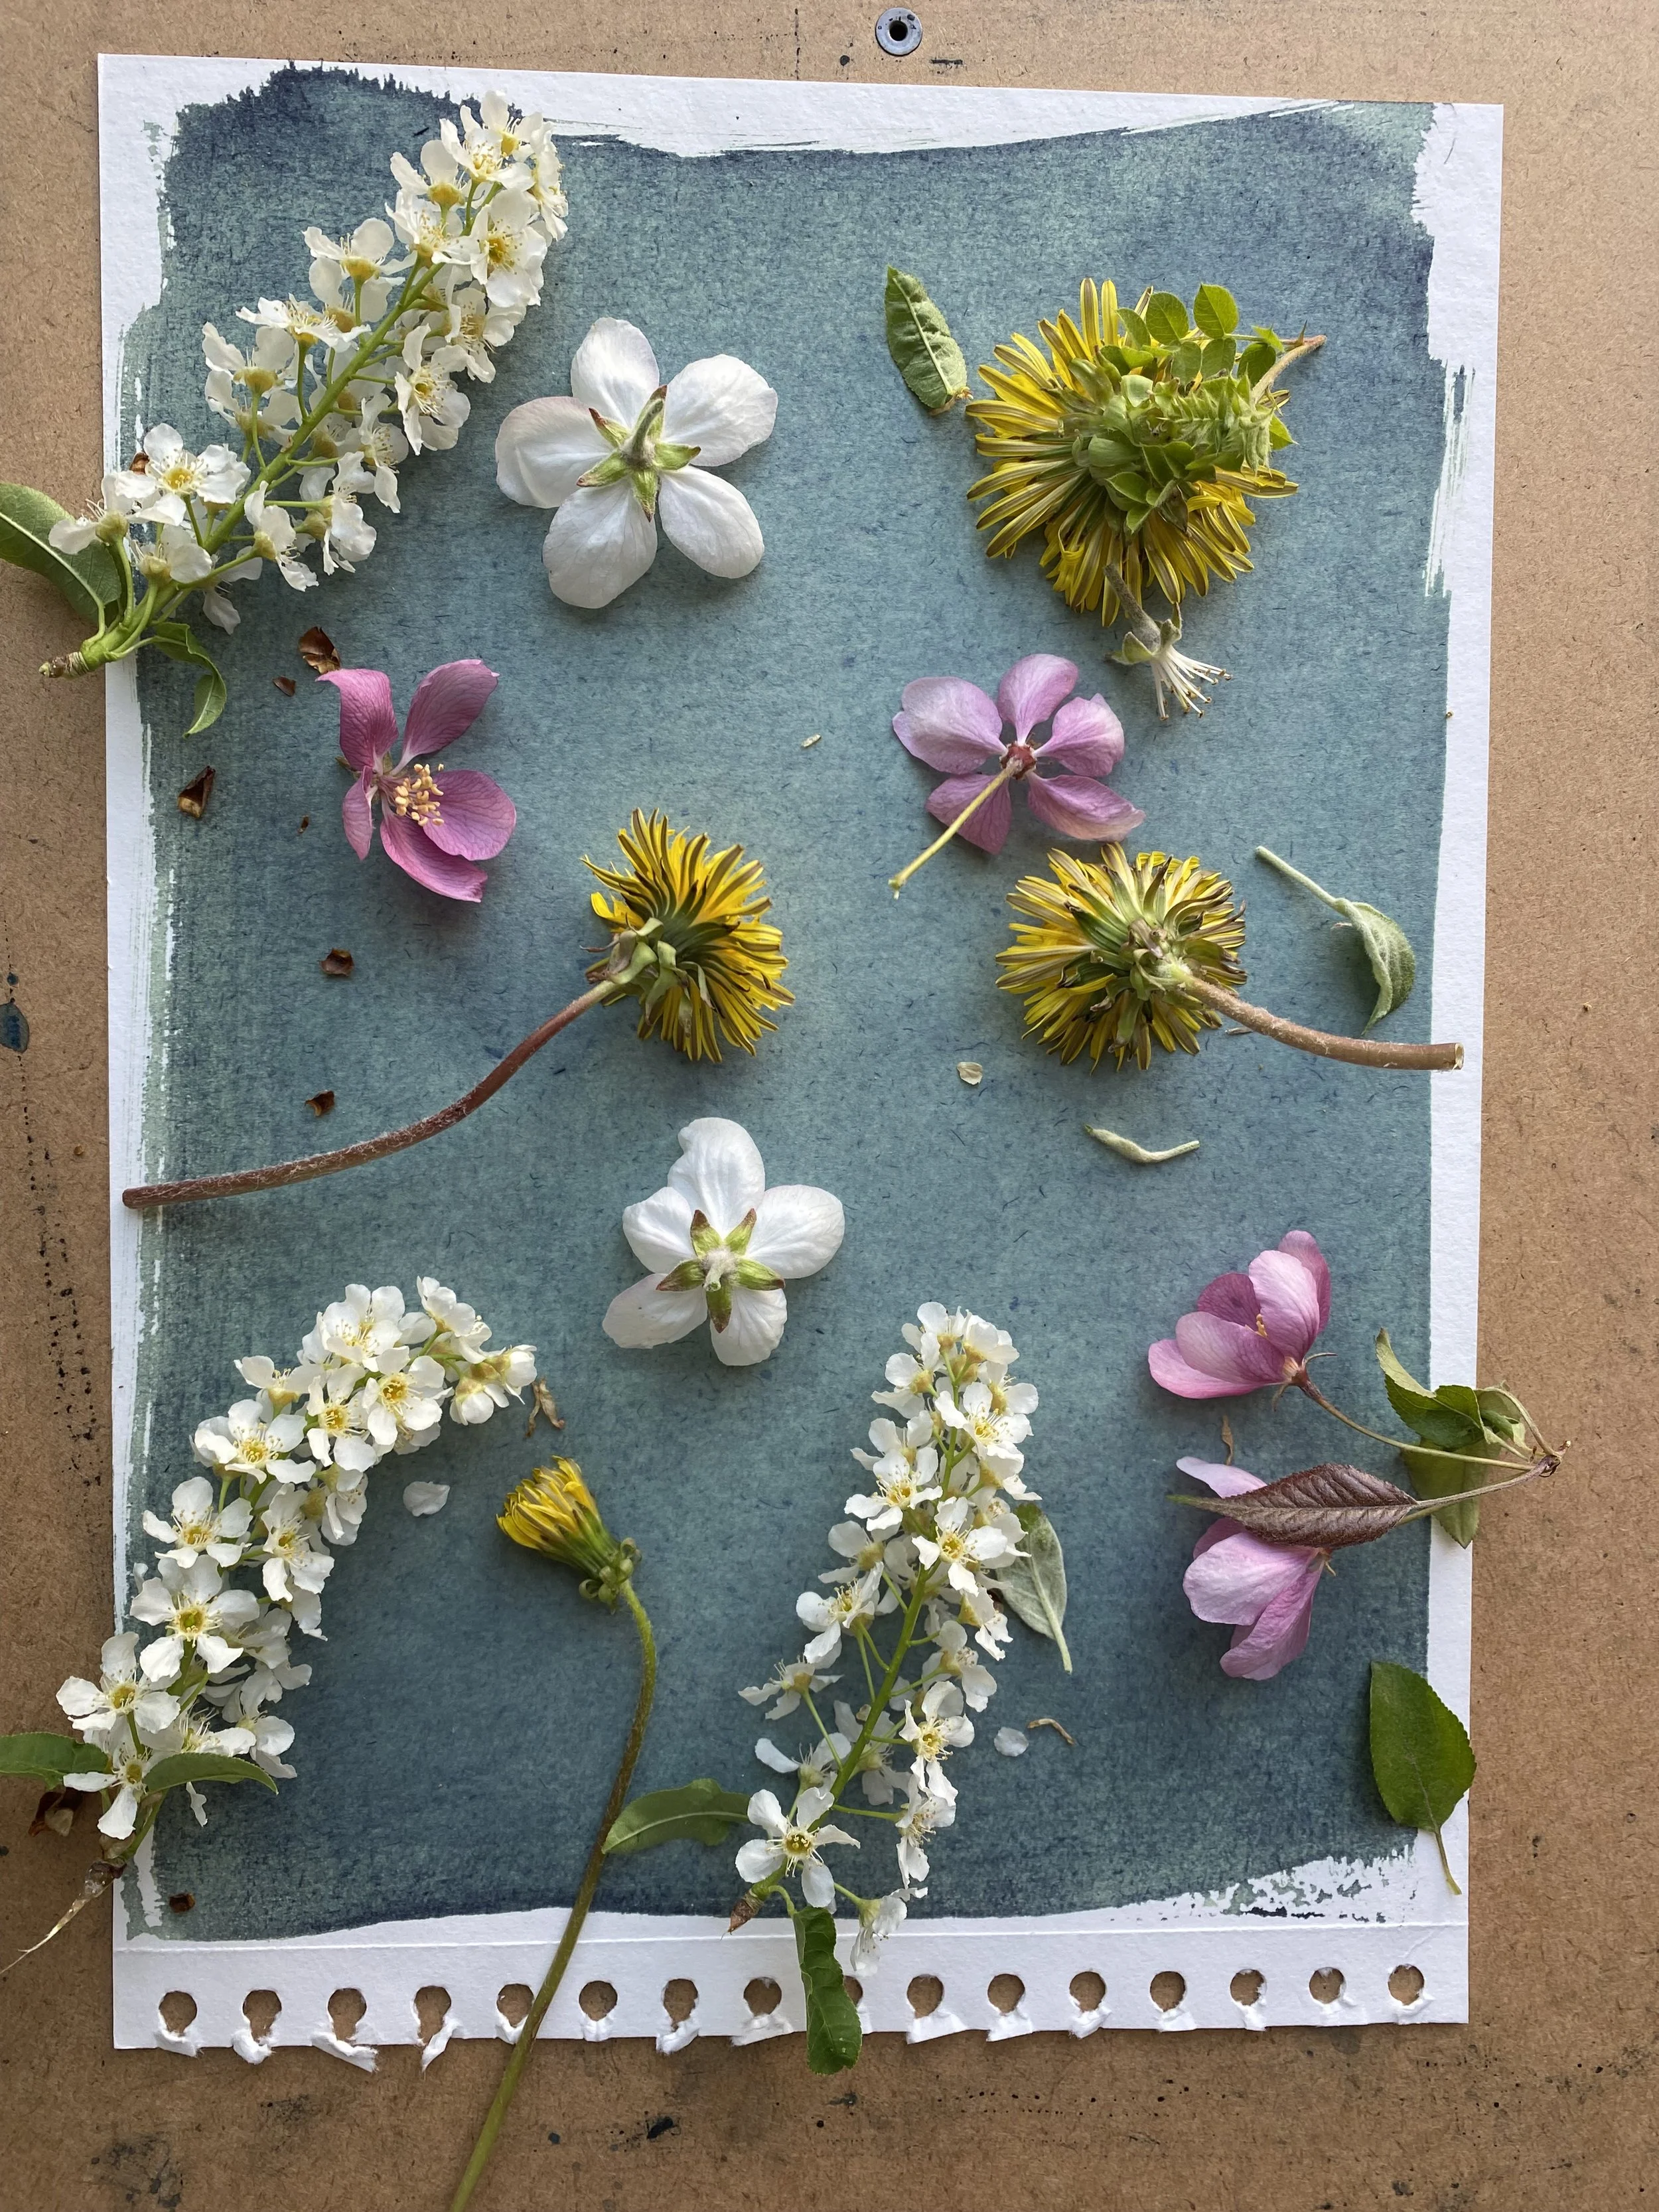
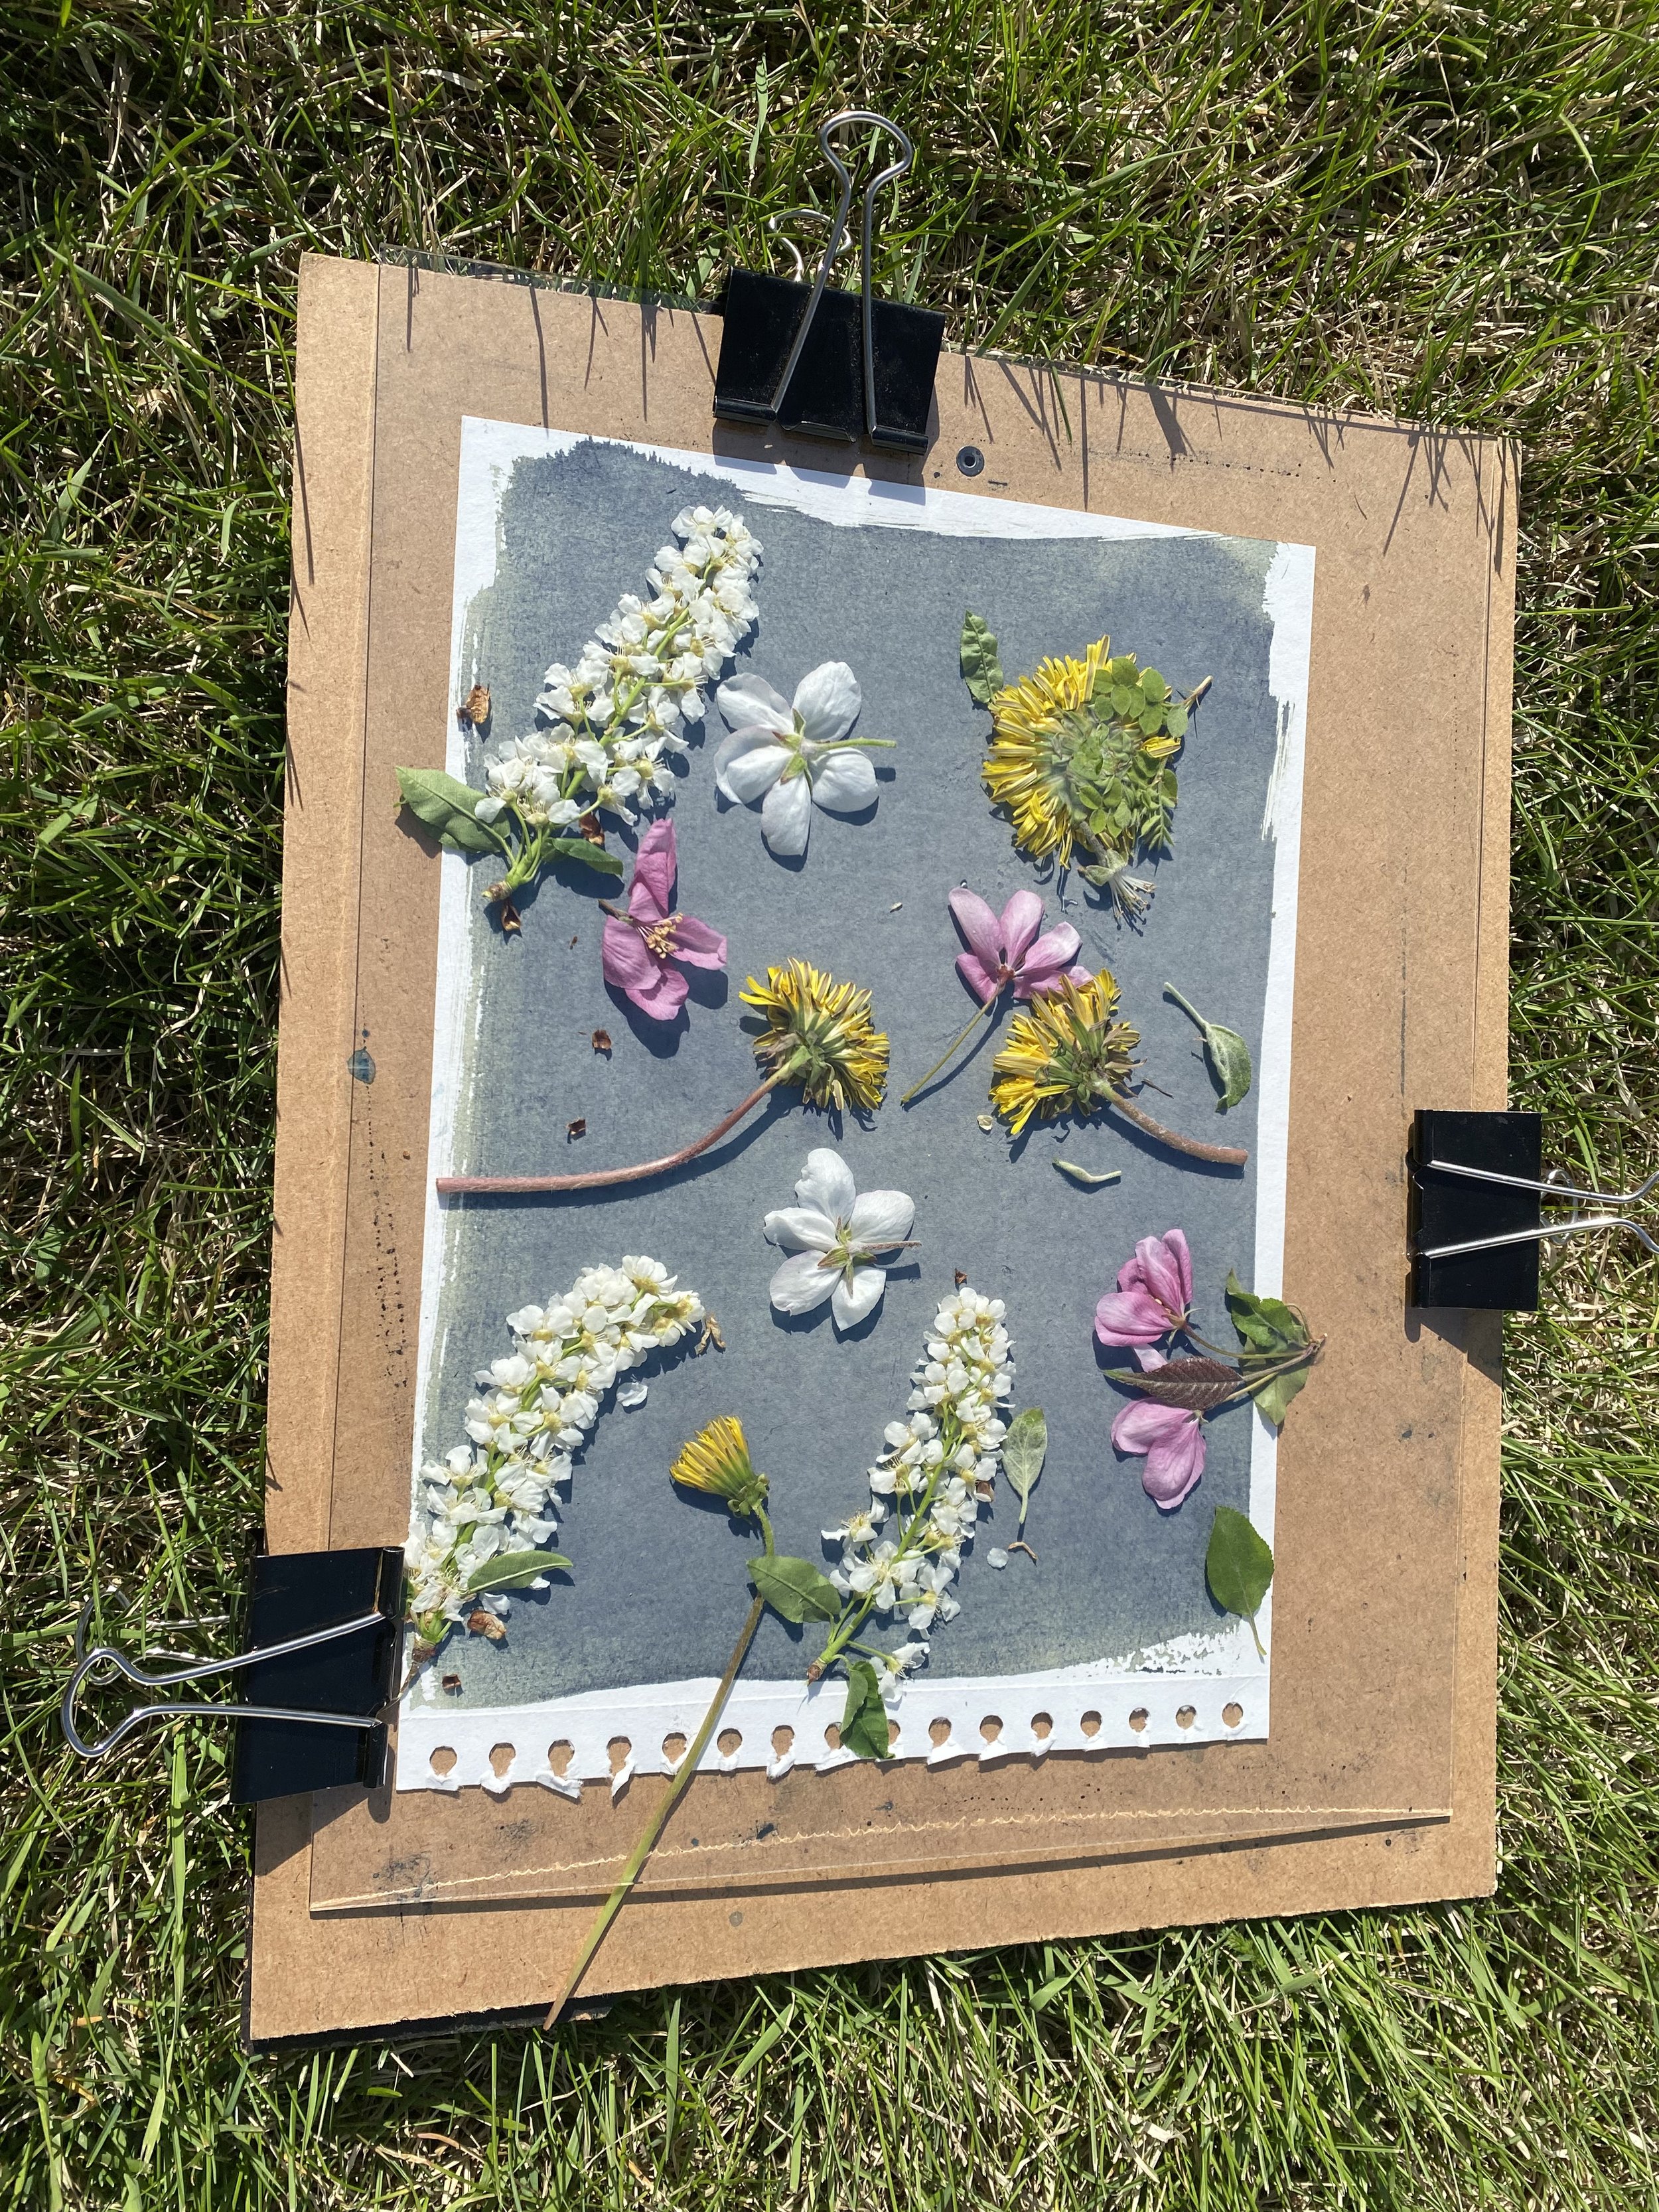
Once we have collected all of the objects we would turn a couple lights off to get our light sensitive paper. Have each artist write their name on the back of their paper. Put the paper on a board, then place the objects on the light sensitive paper. Once our objects have been placed, we can clip them on the glass and bring them outside to be exposed in the UV light.

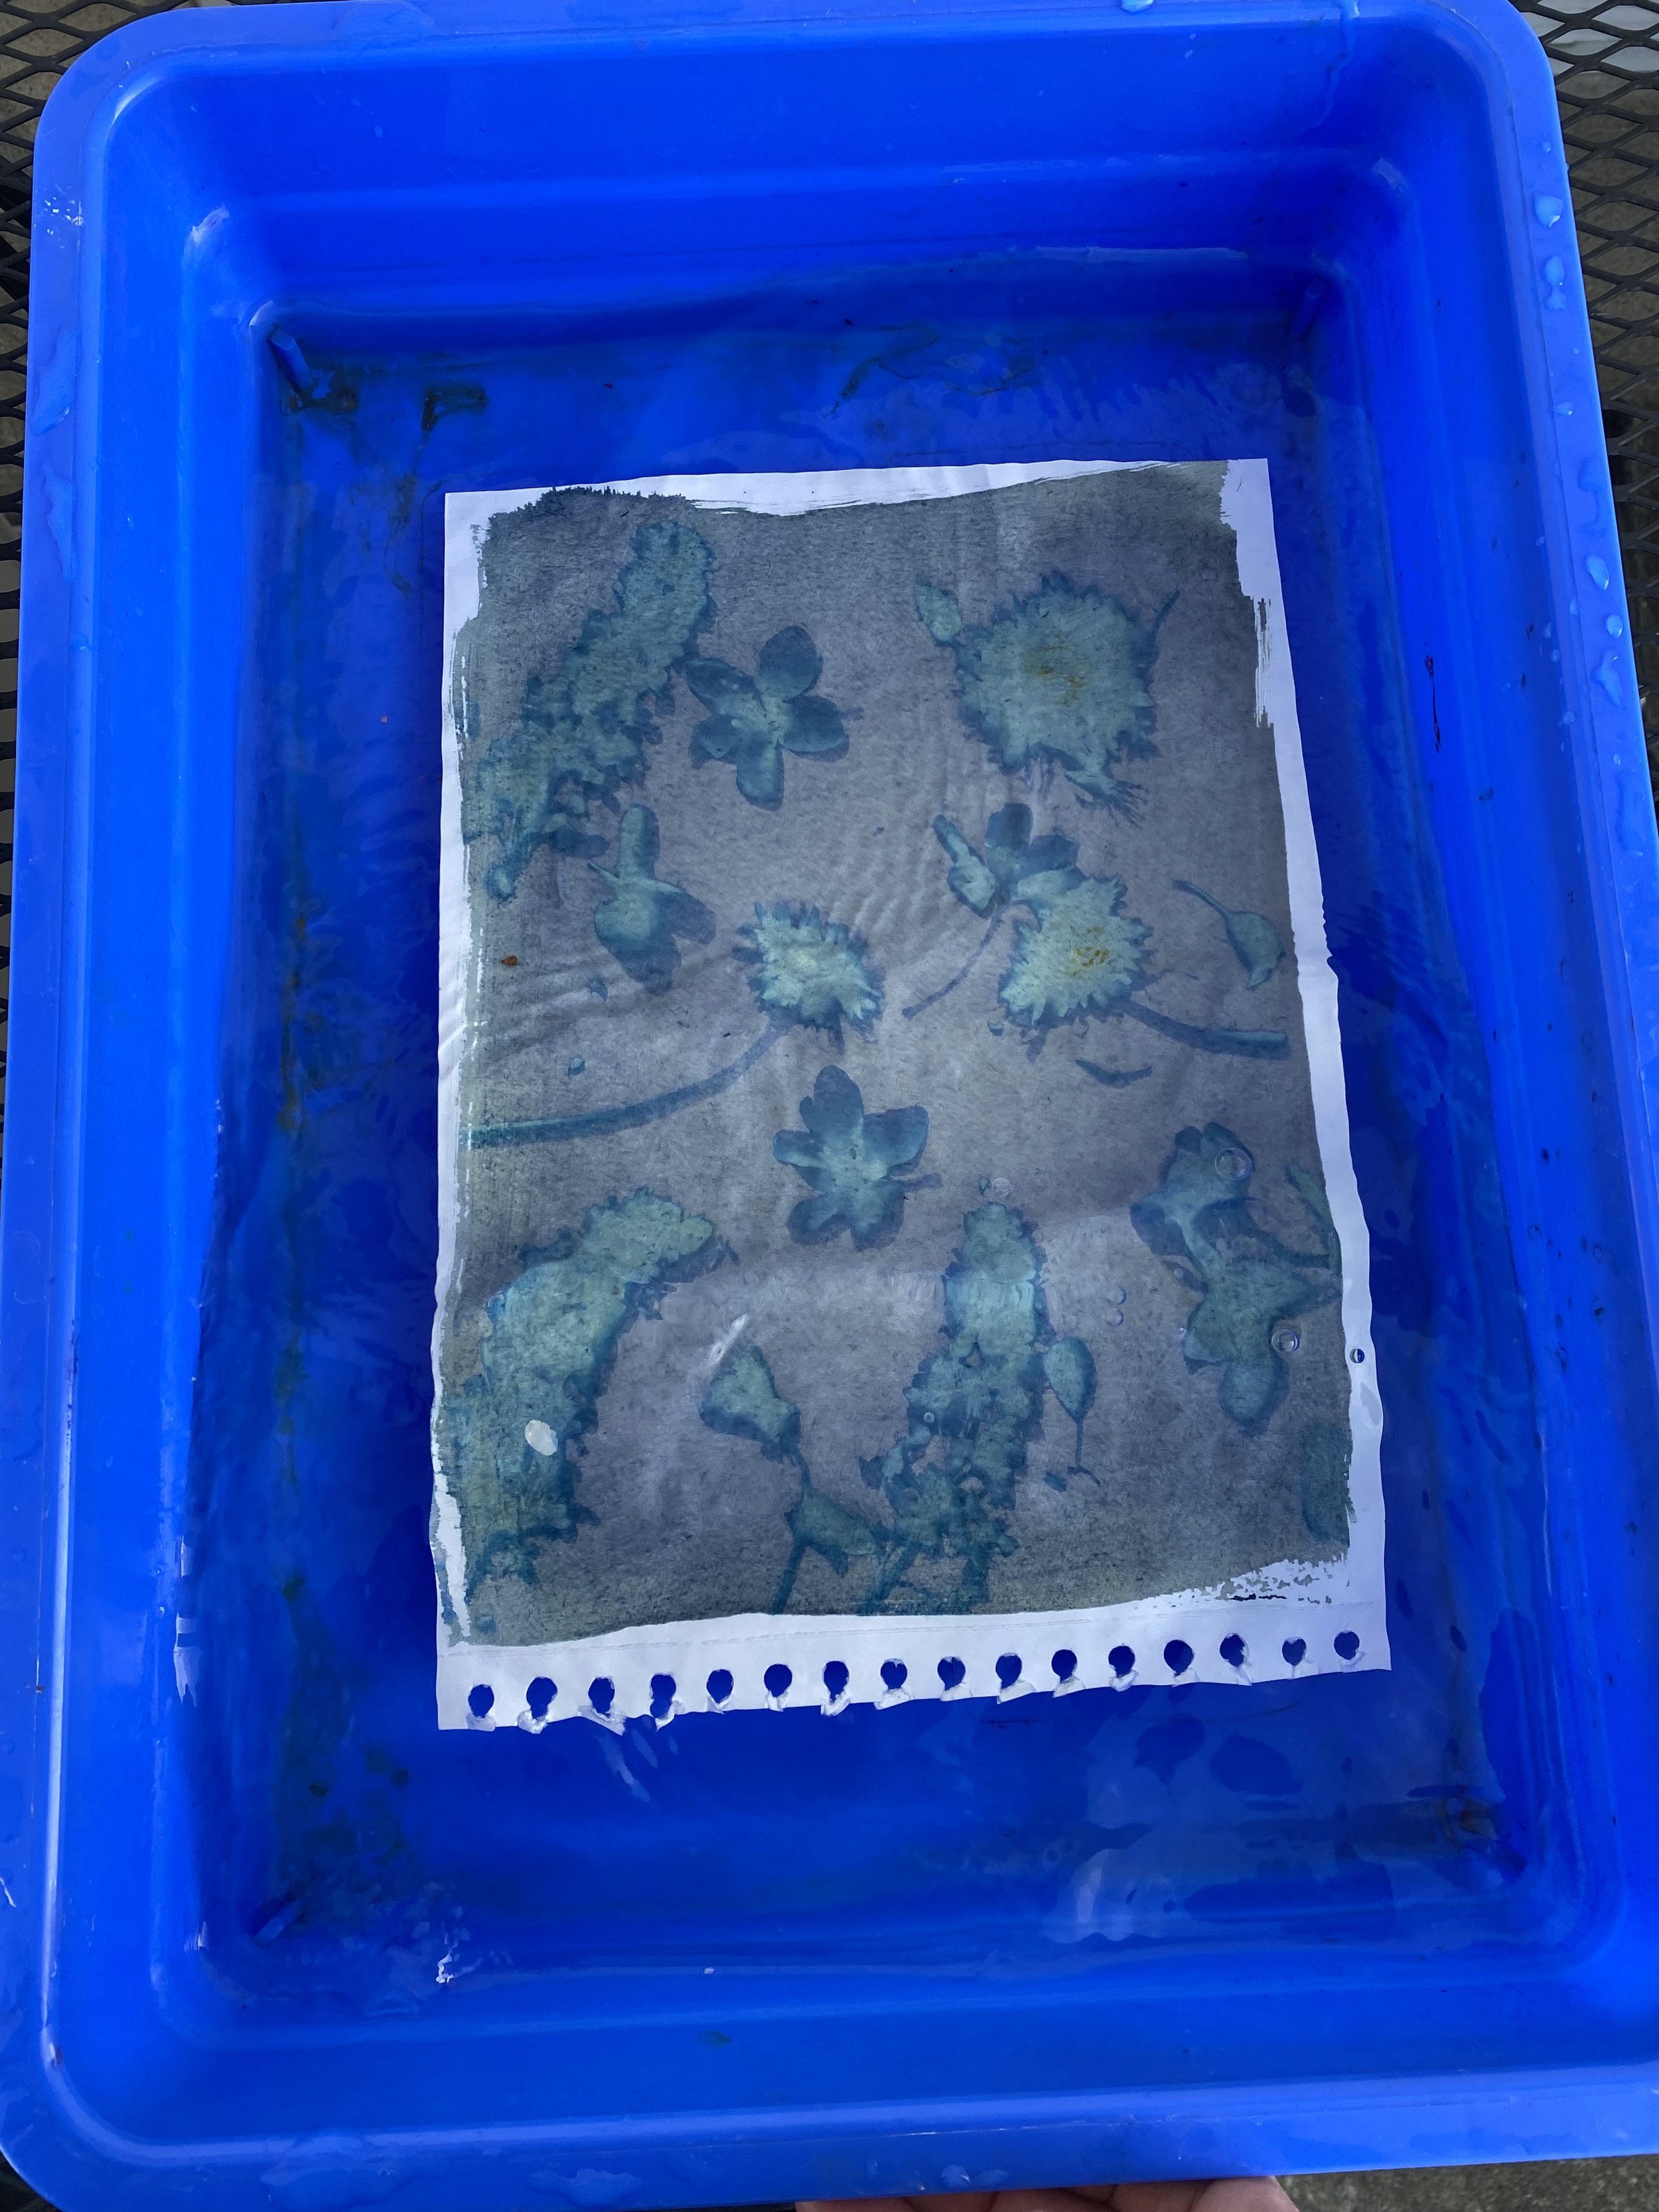
Depending on the weather the exposure can take 5-20 minutes and the paper will go from blue to silver to bronze. When we see it turn to a bronze colour, then we bring our boards back inside and unclip our paper. We then put the paper in cold water basin to stop the exposure and see our art come to life! After the paper has been rinse for a couple minutes it is hung up to dry. You then have an amazing piece of art created with plants, paper and the sun!

Materials-

  1. Watercolour paper

  2. Cyanotype solutions (2)

  3. Bowl for solution

  4. Foam brush

  5. Old picture frame with glass and back

  6. Binder clips

  7. Somewhere to hang prints to dry

  8. Basins with cold water

Depending on the age and level of the students you can:

  • Learn about plants

  • Arrange compositions

  • Think about the outlines of objects

  • Compare transparent objects to opaque

  • Learn about UV rays

  • Learn about chemical reactions